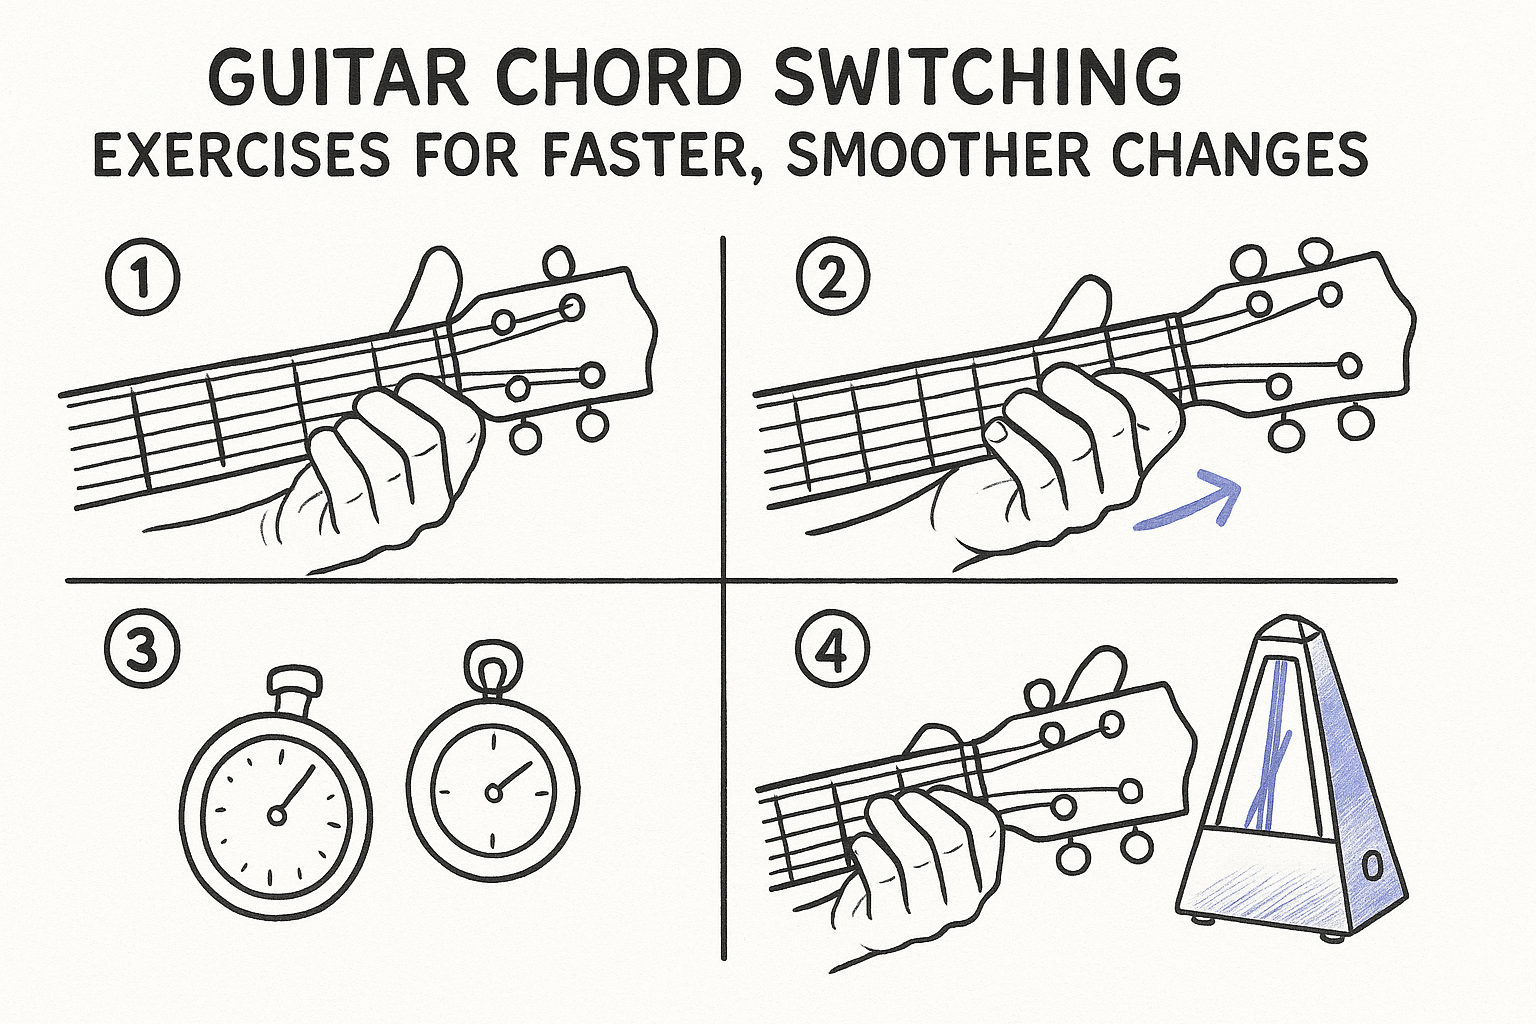
Guitar Chord Switching Exercises for Faster, Smoother Changes
If your chord changes still sound like a car grinding gears, you're not alone. Most guitarists get stuck at the same wall: they know the shapes for C, G, D, and Em, but the transition between them turns a song into a stop-and-start mess. That's what guitar chord switching exercises actually fix. They're not about learning new chords, they're about training your fretting hand to move faster and land cleaner, one repetition at a time.
This guide gives you the specific drills that close that gap, including isolated two-chord loops, timed switching drills, and finger-economy tricks that cut wasted motion between shapes. You'll find exercises ordered from easiest to hardest, so you can start wherever your current skill level actually sits instead of guessing.
What separates fast improvement from months of plateauing usually comes down to consistent, spaced practice rather than one long session before a gig. That's the same principle behind how MemoRep schedules practice reminders for musicians, since a chord change you drill today needs a follow-up rep in a day or two, not three weeks later. Below, you'll get the drills themselves, plus a simple way to structure how often you revisit them.
Why some chord changes feel clumsy at first
Before you fix a problem, you need to know what's actually broken. Most guitarists blame themselves for being slow, but clumsy chord changes almost always come down to three fixable habits: weak finger independence, moving fingers one at a time instead of together, and picking chord pairs that are simply too hard for where you are right now. None of these are talent issues. They're mechanical habits, and mechanical habits respond to targeted drills.
Your fingers haven't learned the shortest path yet
Every chord change has a shortest possible route between two shapes, but your hand doesn't know that route until you've drilled it. When you switch from G to C for the first time, your fingers lift too high, hover, and reposition individually instead of moving as one unit along the shortest path. That extra motion is where the delay comes from. Repetition trains efficiency, not just accuracy, and that's the whole point of dedicated switching drills.
Clumsy chord changes aren't a sign of bad technique, they're a sign of an undertrained transition.
You're thinking about the chord, not the movement
Here's a habit that trips up even intermediate players: treating each chord as a fresh puzzle to solve instead of a pre-loaded shape your hand already knows. If you're still consciously placing each finger, you haven't automated the shape yet, and automating individual shapes has to happen before you can automate the switch between them. That's a separate skill, and skipping it is why so many practice sessions stall.
You're jumping to the hardest changes too soon
Lastly, a lot of players try to fix smooth chord transitions by practicing the exact progression from their favorite song, which is often the hardest possible pairing for their current skill level. Practicing F to Bm on day one because a song demands it is like sprinting before you can jog. The fix is sequencing: isolate the two hardest chords in any progression, drill just that pair, then rebuild the full sequence once the pair feels automatic.
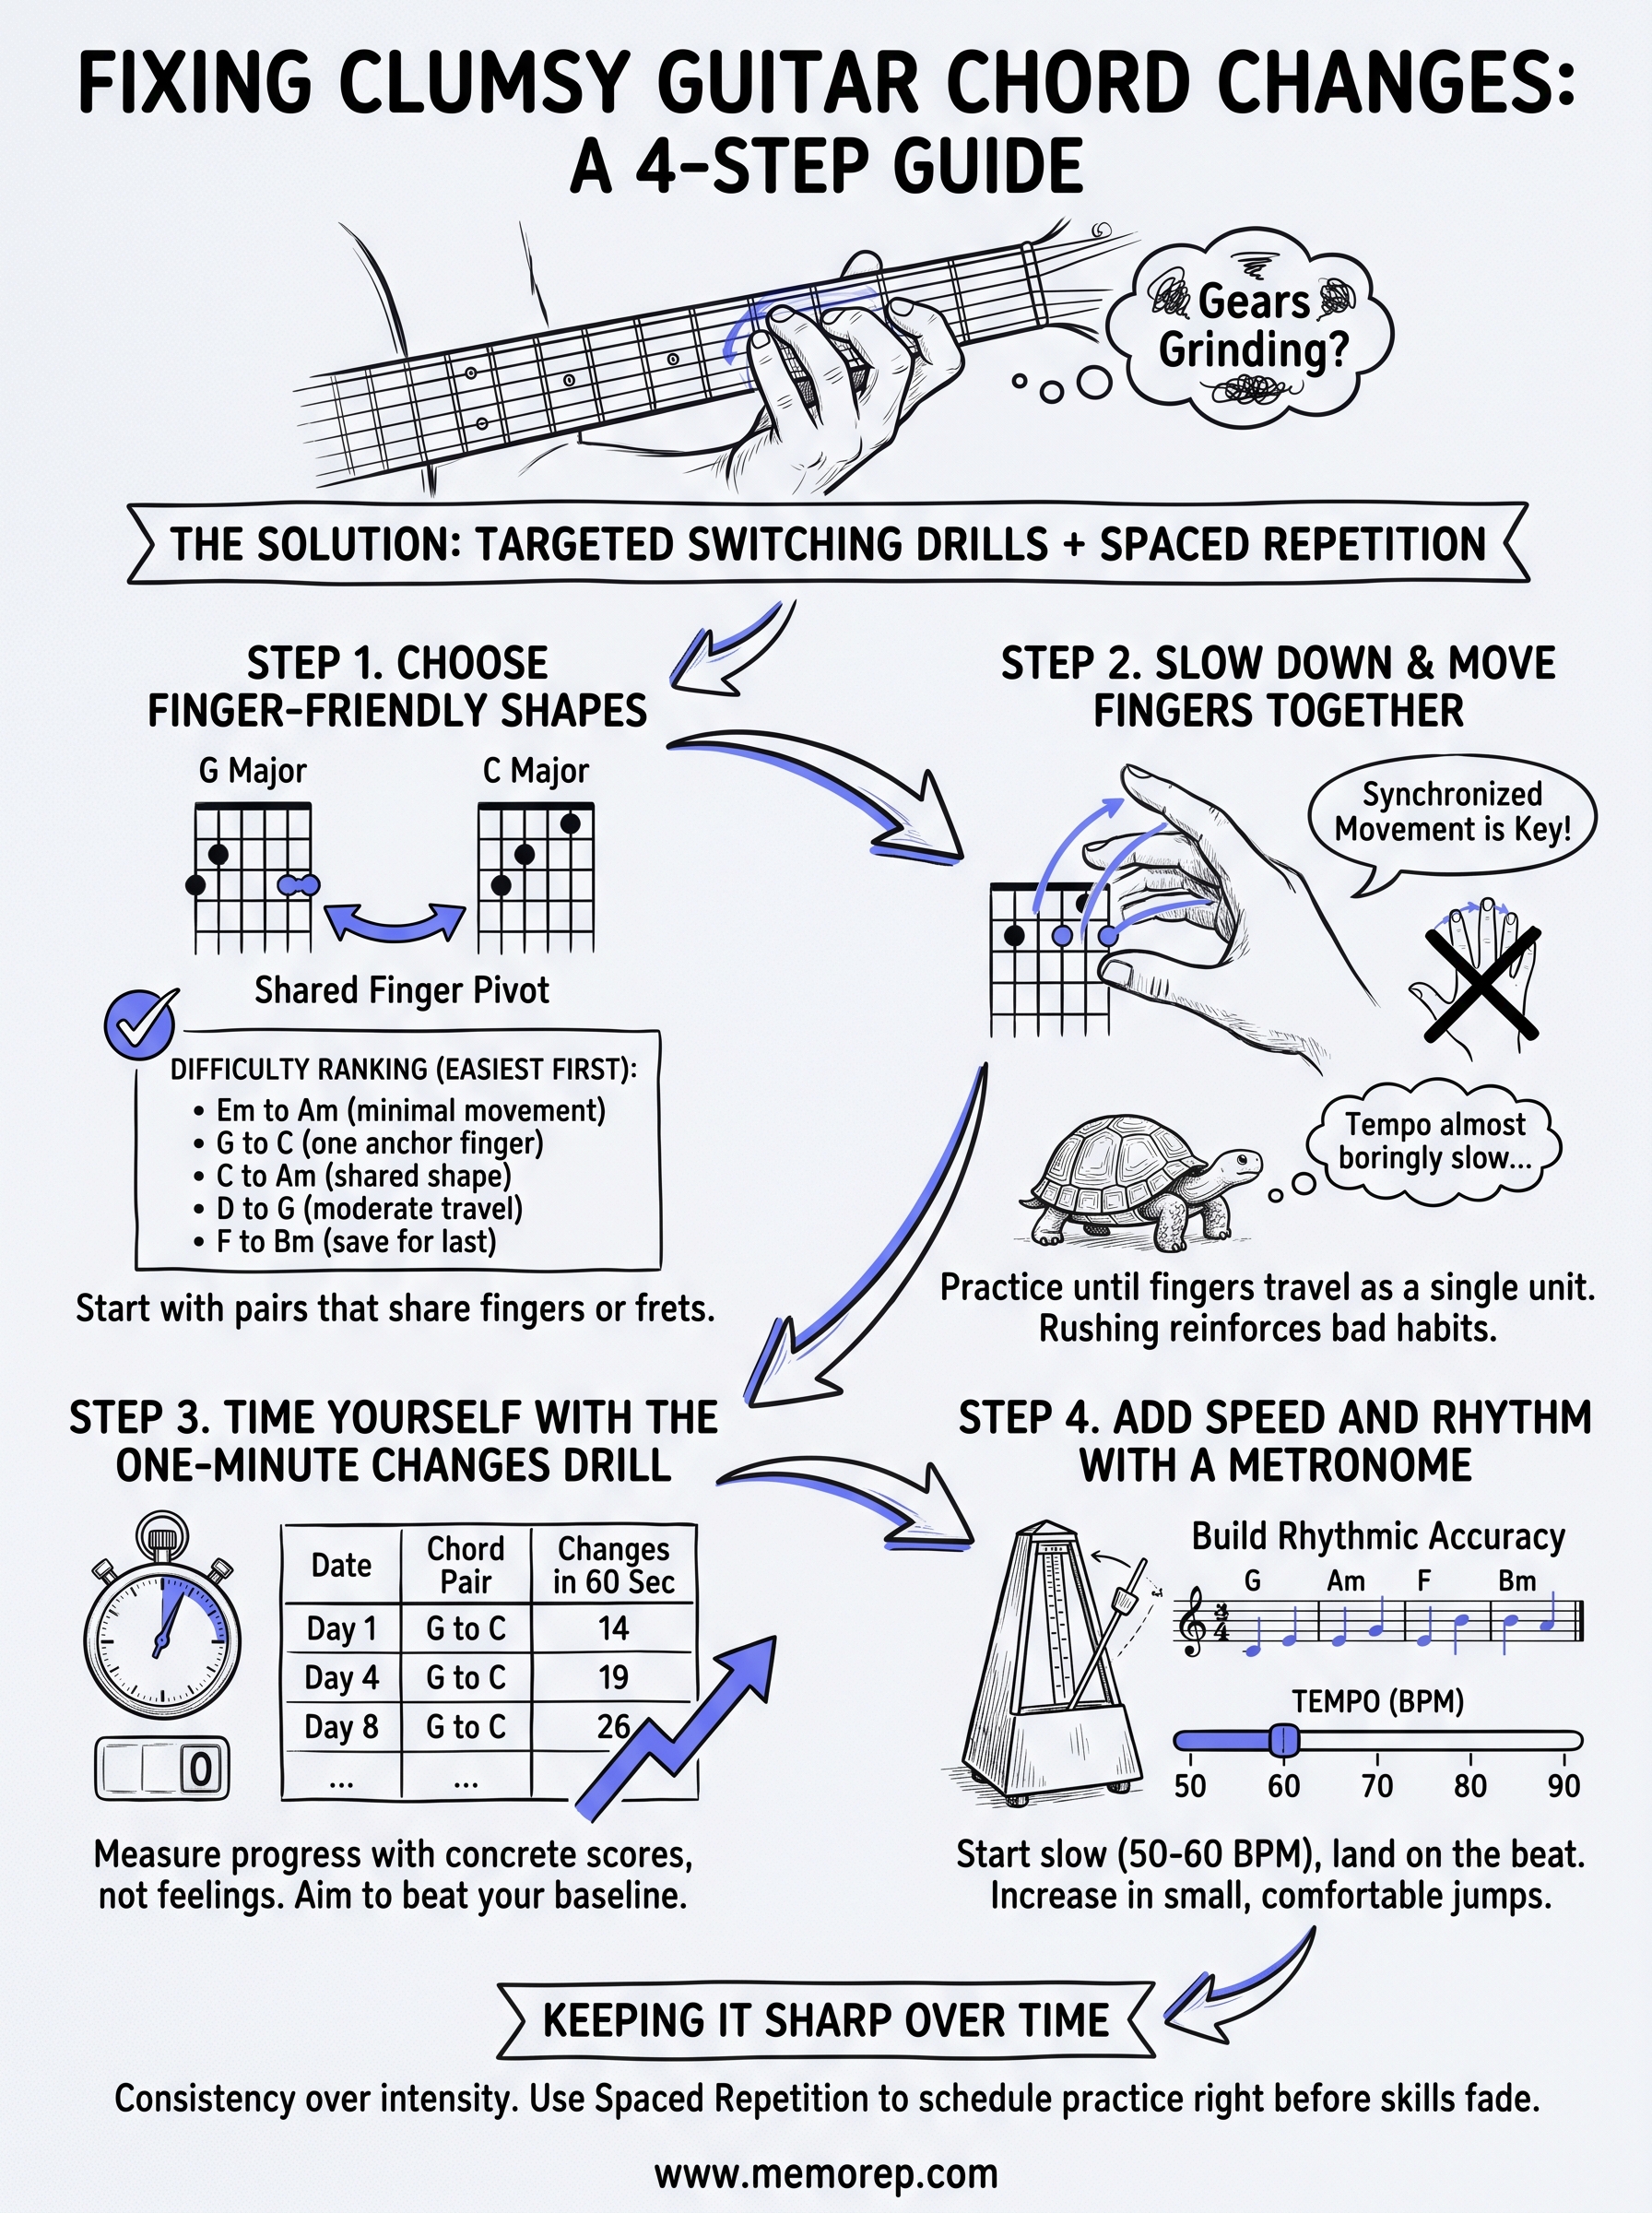
Step 1. Choose finger-friendly chord shapes
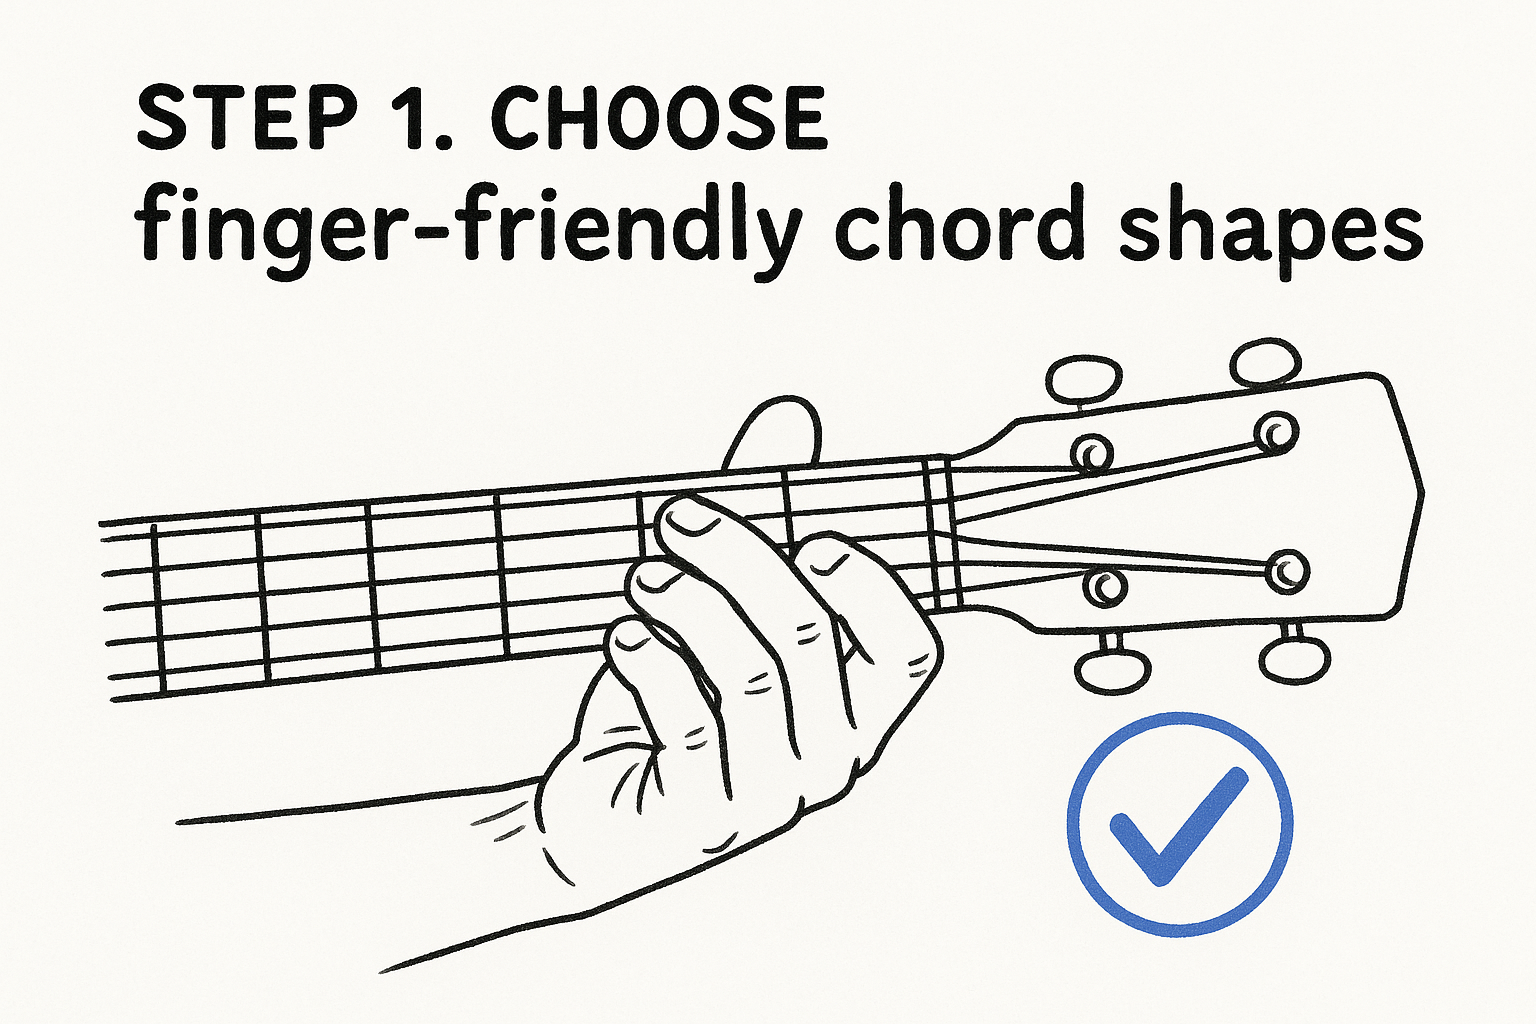
Not every chord pair deserves equal practice time. Some guitar chord switching exercises fail before they start because the player picked a pairing that's mechanically brutal for a beginner, like F to Bm, instead of building confidence with shapes that share fingers or frets. Picking the right starting pair is half the battle.
Start with shared-finger pairs
Look for chord pairs where at least one finger stays anchored on the same string and fret. That shared finger acts as a pivot, cutting the number of moving parts in half. G to C, for example, keeps your middle finger close to home if you finger G with your ring, middle, and pinky. These easy chord pairs give your hand a reference point instead of a total reset.
The fewer fingers that have to move, the faster the change becomes automatic.
Rank your chord pairs by difficulty
Before you drill anything, sort your target chords into a rough difficulty order. Start at the top of this list and don't move down until the current pair feels smooth:
- Em to Am (minimal finger movement)
- G to C (one anchor finger)
- C to Am (shared shape, different fret)
- D to G (moderate finger travel)
- F to Bm (full barre repositioning, save for last)
Working through pairs in this order means every session builds real momentum instead of grinding on a change your hand isn't ready for yet.
Step 2. Slow down and move your fingers together
Speed is the reward, not the starting point. Once you've picked a finger-friendly pair, slow the change down until every finger lands in the exact same instant, not one after another in a scramble. This is where synchronized finger movement turns a shaky transition into a repeatable motion, and it's the single most skipped step in home practice.
Drop the tempo until it's almost boring
Practice each chord pair at a pace that feels too slow to be useful. Count to four between changes if you have to. The goal isn't musicality yet, it's teaching your hand that every finger travels together as one unit instead of racing to the fretboard individually. Speeding up too early just reinforces the same staggered movement you're trying to erase.
If you can't do it slow and clean, doing it fast will only make it sloppy faster.
Watch for the telltale signs of rushing
A few habits signal you're moving too fast for your current skill level:
- Fingers arriving at different times instead of together
- One finger lifting way higher off the strings than the others
- Buzzing or muted strings right after the change
- Your eyes darting to check finger placement mid-switch
If you spot any of these, slow down further. This kind of deliberate slow practice feels unglamorous, but it's what makes the timed drills in the next step actually stick instead of falling apart under pressure.
Step 3. Time yourself with the one-minute changes drill
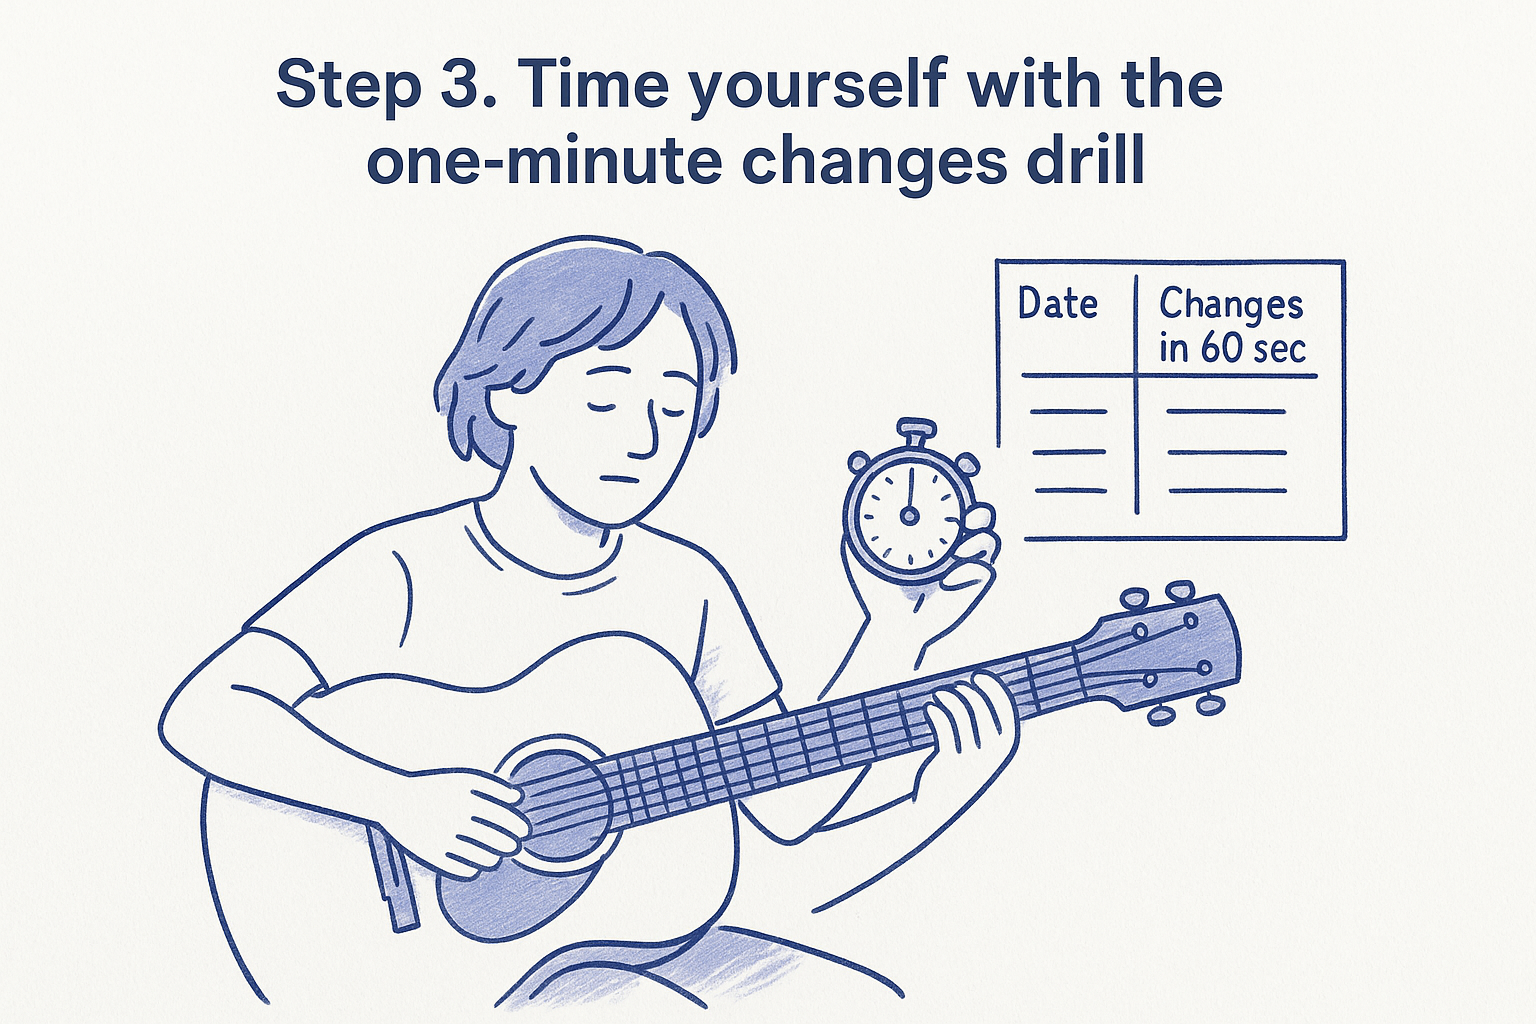
Now that your fingers move together, it's time to measure real progress instead of guessing at it. The one-minute changes drill is a classic benchmark: you switch between two chords as many times as you can in sixty seconds, and that number becomes your baseline. Unlike vague feelings of "getting better," this drill gives you a concrete score you can beat next session, which is exactly what turns scattered practice into measurable chord switching progress.
Run the drill itself
Grab a timer and pick the chord pair you've been drilling in Step 1. Here's the process:
- Set a timer for 60 seconds
- Switch between the two chords, strumming once per change to confirm it rang clean
- Count only the changes where every string sounds clear, not muffled or buzzing
- Write down your final number before you forget it
That count, not your gut feeling, tells you whether the chord pair is actually improving.
Track your score over time
Since the whole point is comparison, log your results instead of trusting memory. A simple table works fine:
| Date | Chord pair | Changes in 60 sec |
|---|---|---|
| Day 1 | G to C | 14 |
| Day 4 | G to C | 19 |
| Day 8 | G to C | 26 |
A number you can beat is more motivating than a feeling you can't measure.
Underneath that climbing number is the same skill from Step 2, just running faster without breaking down.
Step 4. Add speed and rhythm with a metronome
Once your one-minute score is climbing, a metronome turns raw speed into usable timing. Playing chord changes in isolation is one thing, but real songs demand you land each chord exactly on the beat, not just quickly. This step builds that rhythmic accuracy on top of the finger economy you already trained, so the changes hold up once a drummer or backing track enters the picture.
Set a tempo you can actually hold
Start absurdly slow, somewhere around 50 to 60 beats per minute, and change chords on every downbeat. Your only job is landing clean exactly when the click sounds, not early, not late. If you rush ahead of the beat, drop back down ten BPM and rebuild from there. This is where metronome practice for guitar separates players who can technically switch chords from players who can actually use them in a song.
A chord change that's fast but off the beat still breaks the music.
Increase tempo in small jumps
Once five clean rounds pass at your starting tempo, bump it up in small increments and repeat:
- 60 BPM, one change per beat, four bars clean
- 70 BPM, same pattern, four bars clean
- 80 BPM, then try switching every half beat instead of every full beat
Each jump should feel almost too easy before you move on. Small, boring increases beat big leaps that force sloppy technique back in, and they're exactly what keeps your guitar chord switching exercises producing gains week after week instead of stalling at the same speed.
Keeping your chord changes sharp over time
Clean chord changes don't stay clean on their own. Skills fade the moment you stop touching them, which is why the four steps here only work if you revisit them on purpose instead of hoping the gains stick. Finger-friendly pairings, slow synchronized moves, the one-minute drill, and metronome work all build on each other, but they need a follow-up rep before the motion fades, not weeks later when you're back to square one.
That's the exact problem spaced repetition solves for practical skills like this. Instead of guessing when to revisit F to Bm or your metronome tempo jumps, a system can schedule that follow-up automatically, right when your hand is about to forget it. If you want to see the algorithm behind that timing, check out how memoRep's spaced repetition scheduling works and put your practice on a real schedule instead of a hopeful one.