
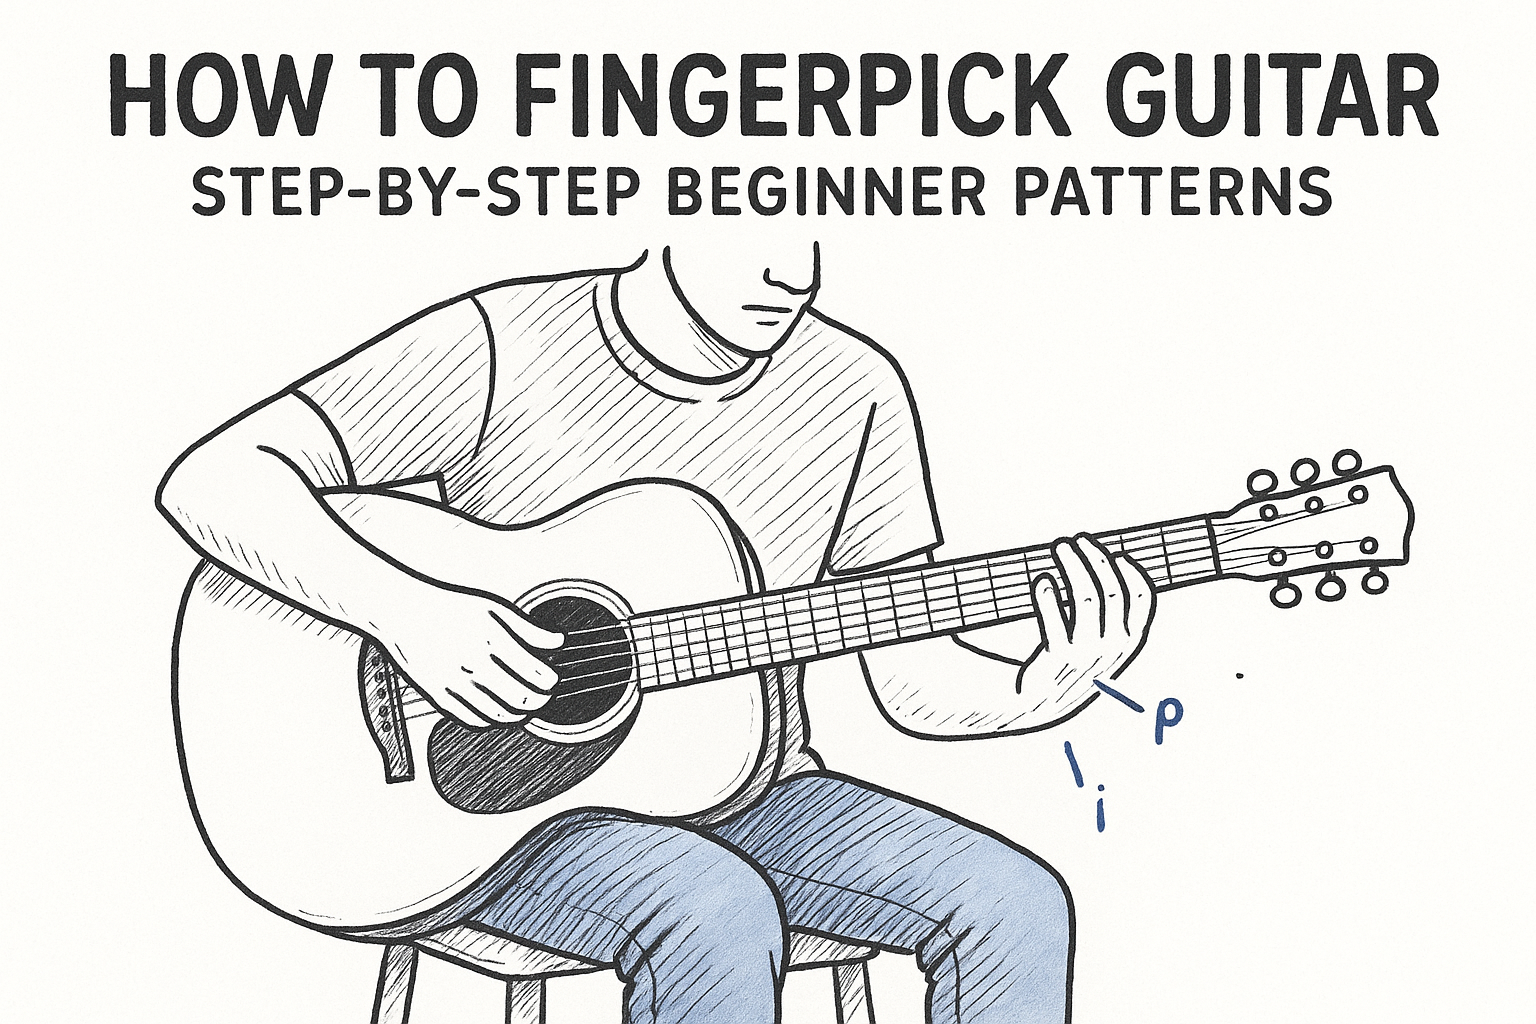
How To Fingerpick Guitar: Step-By-Step Beginner Patterns Today
Most beginners overcomplicate how to fingerpick guitar. They watch a few videos, try to mimic complex patterns, and quit when their fingers won't cooperate. But fingerpicking isn't about talent or hand size, it's about learning the right fundamentals in the right order, then building on them through consistent practice.
This guide breaks the process into clear, manageable steps. You'll learn how to position your picking hand, which fingers pluck which strings, and how to play your first fingerpicking patterns, all starting from zero experience. Each section builds on the last, so by the end, you'll have a real foundation you can grow from, not just a trick you memorized. We also built MemoRep to solve the biggest challenge that comes after learning these patterns: remembering to practice them at the right intervals so they actually stick. The platform schedules your practice using spaced repetition, so you spend less time guessing what to work on and more time playing.
Let's get your fingers on the strings.
What you need before you start
Before you worry about patterns or positions, make sure your setup isn't working against you. Learning how to fingerpick guitar on an instrument with high string action and untrimmed nails will make the technique feel harder than it actually is. Getting these basics sorted first gives you the best possible foundation.
Your guitar
Any acoustic, classical, or electric guitar works for a beginner. Classical (nylon-string) guitars are the most forgiving because low string tension makes plucking easier on your fingertips. Steel-string acoustics give you a brighter tone but require slightly more force per string.
String action also matters. If your strings sit too high off the fretboard, even good technique will feel frustrating. Take your guitar to a local shop and ask for a basic setup, which usually costs under $50 and makes a noticeable difference.
If you already own a guitar, use it. Buying a new instrument won't fix a technique problem.
Your nails and fingertips
Your right-hand nails directly affect tone and precision. Beginners can start with bare fingertips for a softer sound, then experiment with slightly longer nails once the motion feels natural. Keep your fretting-hand nails short so they don't block clean chord contact.
- No nails: Warm, rounded tone; nothing to break mid-session
- Short nails (1-2mm past fingertip): Brighter attack; better note definition; the most common choice for fingerstyle players
- Longer nails: Classical-style tone; requires regular filing and maintenance
Your practice space
You need an armless chair with enough room to hold your guitar without your picking arm hitting anything. Upright posture from the beginning prevents shoulder and wrist tension that hardens into bad habits later.
Sit straight, rest the guitar body against your torso, and let your picking arm hang relaxed over the soundhole. Keep a music stand nearby so you're not hunching over a phone or sheet music flat on your lap.
Step 1. Set up your right-hand technique
Your right hand does most of the work when you learn how to fingerpick guitar, and the position you start with shapes everything that follows. Rest your forearm lightly on the guitar body, let your wrist arc slightly upward, and keep your hand relaxed above the soundhole. Tension in your wrist or forearm will slow you down before you play a single note.
Finger assignments
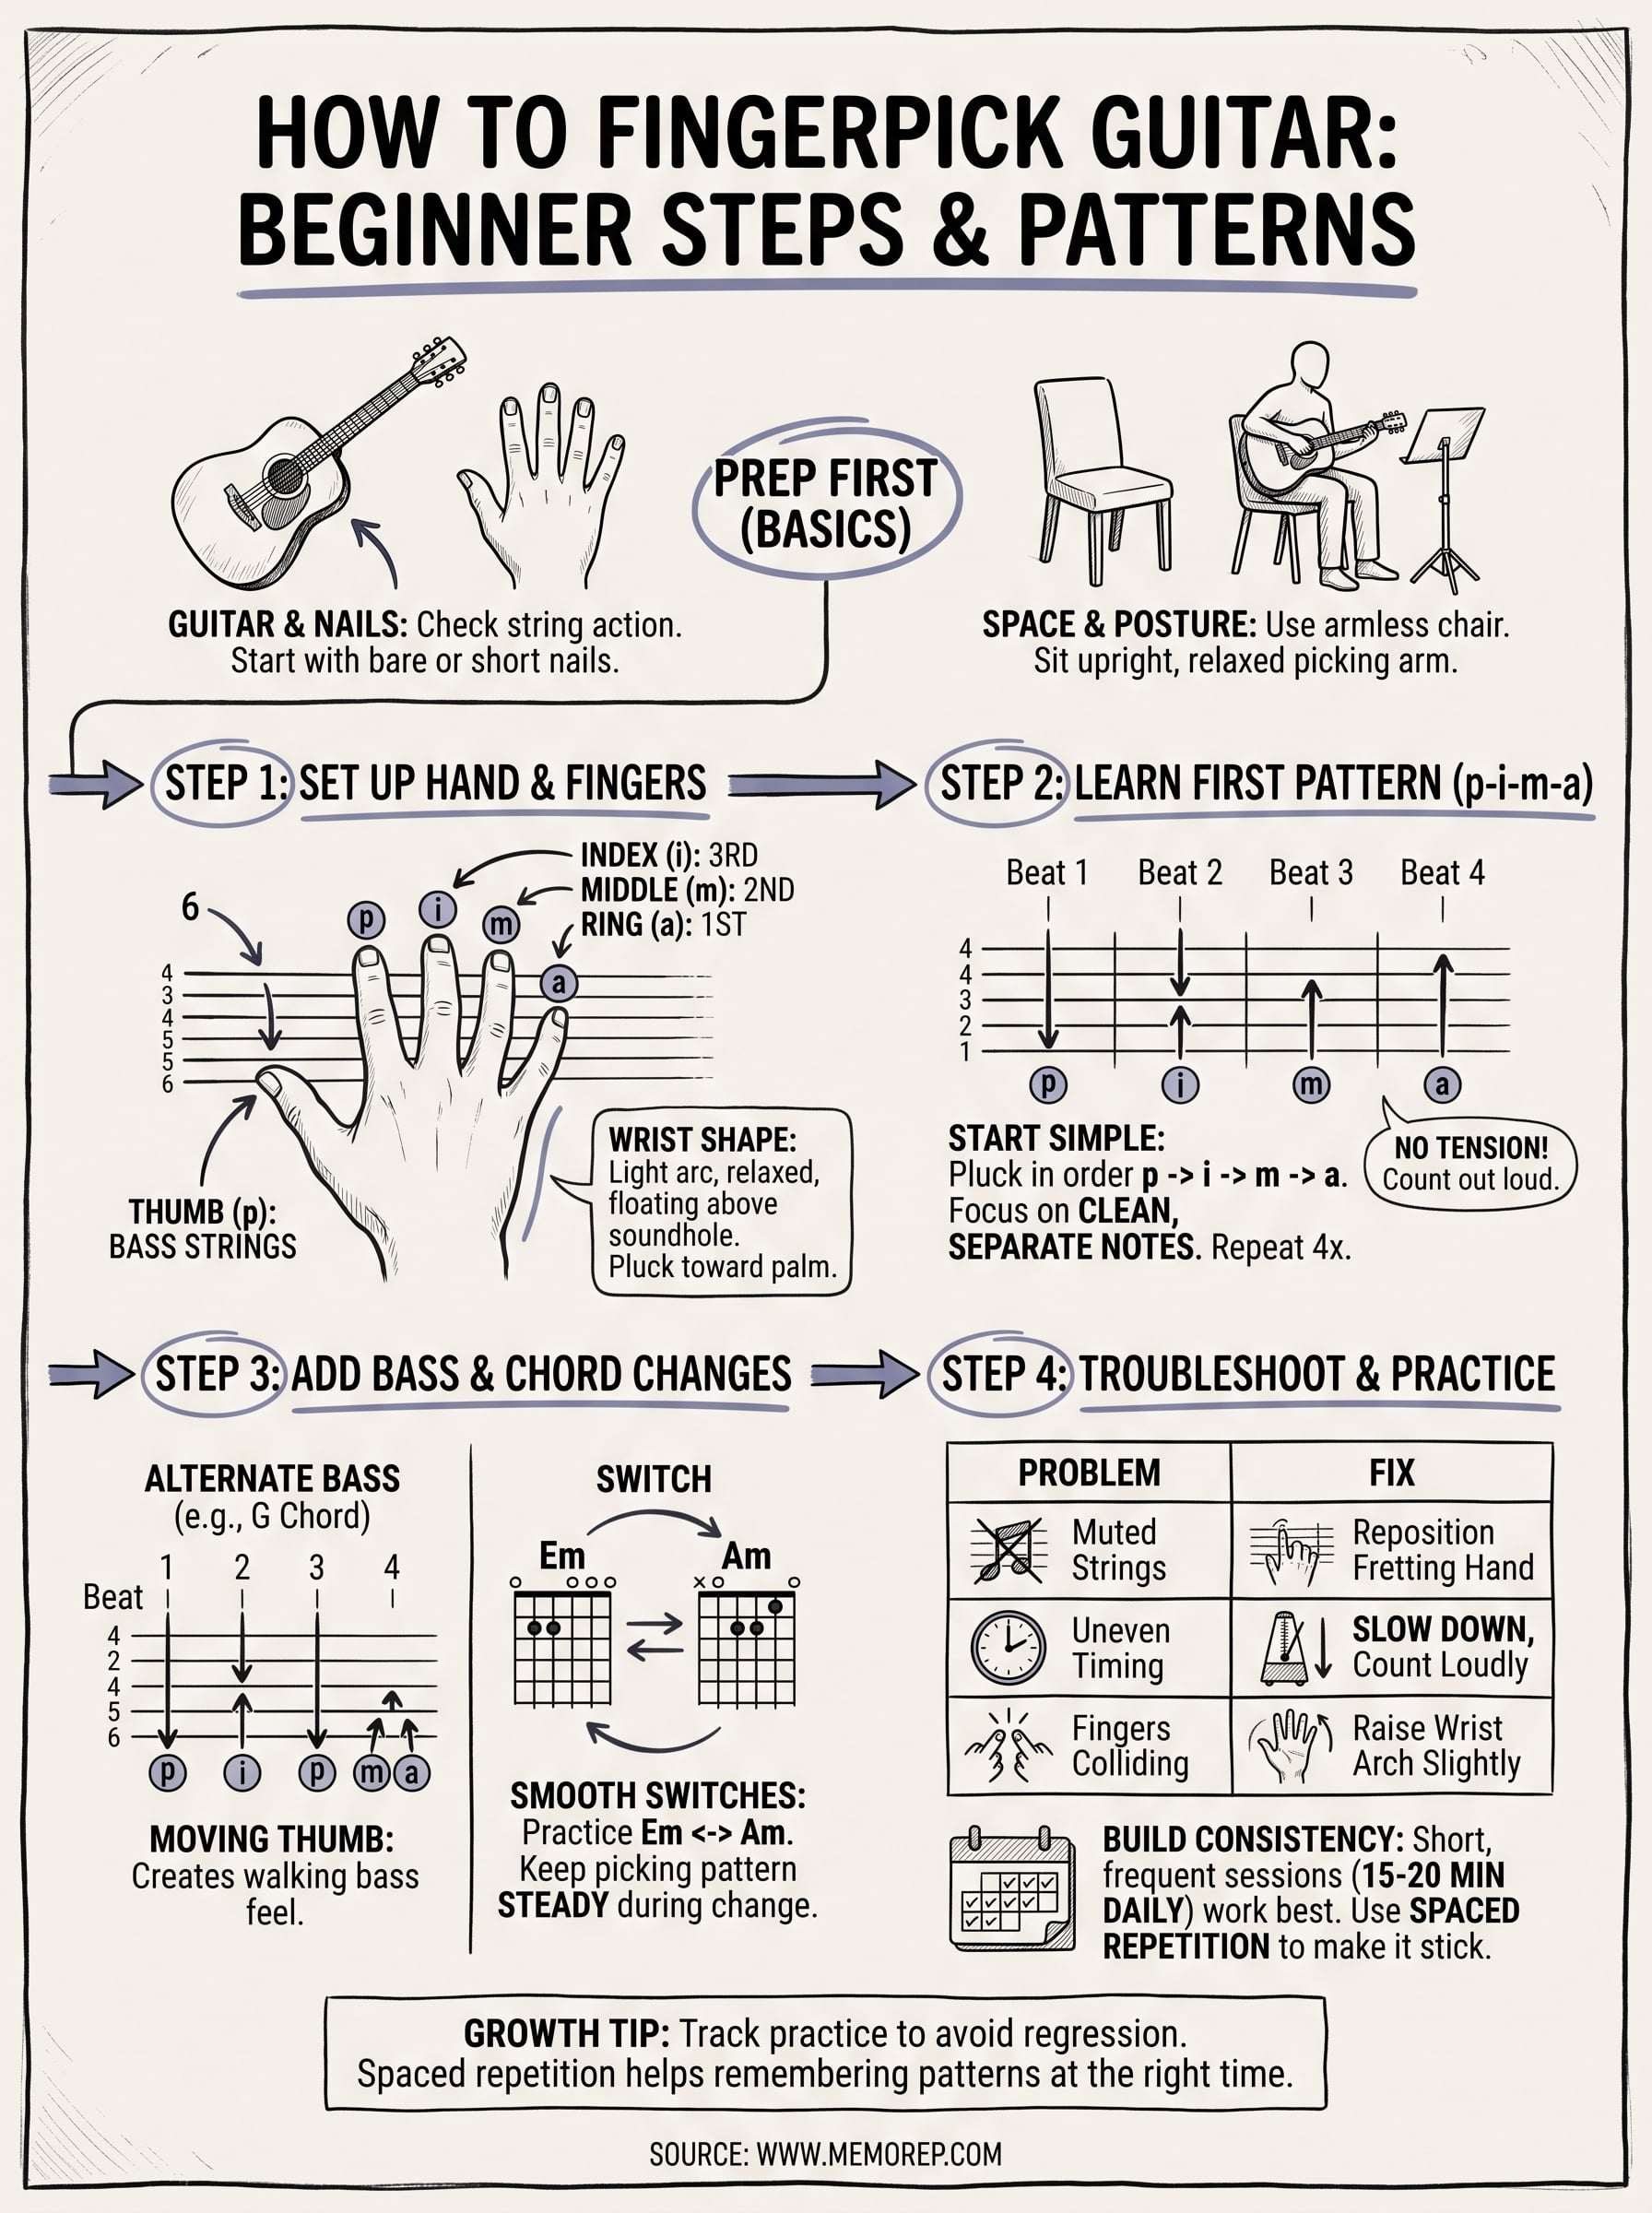
Classical fingerpicking notation uses letters from Spanish to label each finger: p (thumb), i (index), m (middle), and a (ring). Your thumb handles the bass strings (4th, 5th, and 6th), while your three fingers cover the treble strings (3rd, 2nd, and 1st). Assign these roles from your very first session so your hand builds the right muscle memory immediately.
| Finger | Letter | Strings |
|---|---|---|
| Thumb | p | 4th, 5th, 6th |
| Index | i | 3rd |
| Middle | m | 2nd |
| Ring | a | 1st |
Hand position and wrist shape
Place your fingers lightly on their assigned strings without pressing down. Your wrist should float just above the strings, not rest on the guitar body. When you pluck, pull each finger toward your palm in a small, controlled motion rather than lifting it away from the strings.
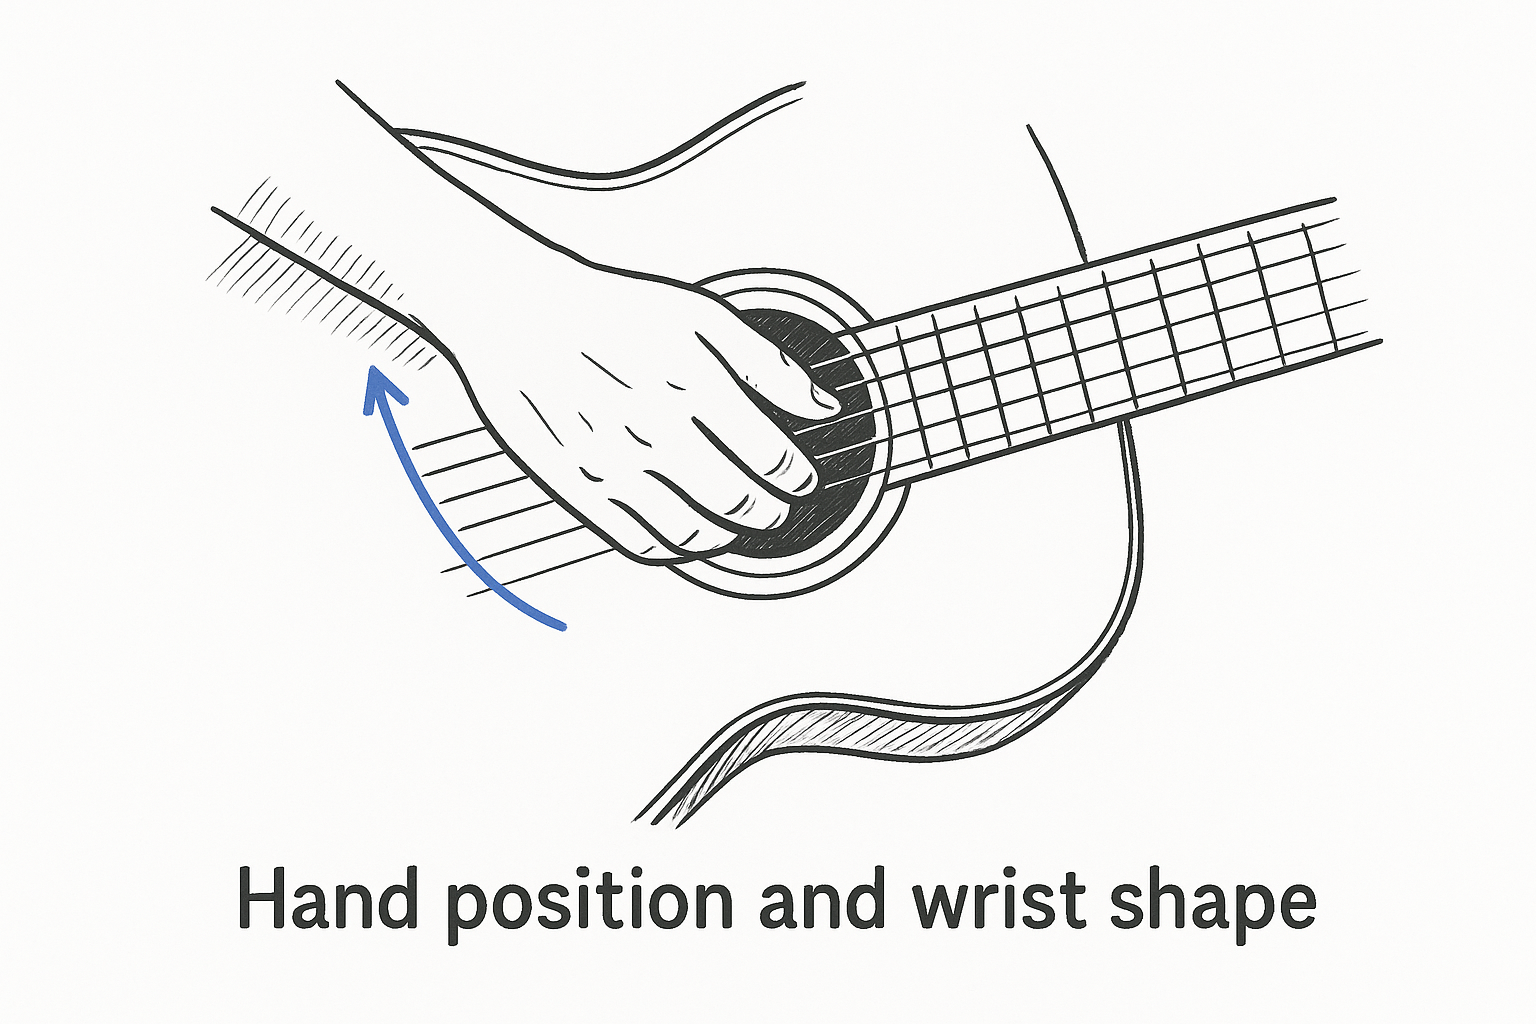
Keep the motion small and consistent. Large, looping finger movements create unwanted noise and will limit your speed as patterns get more complex.
Step 2. Learn your first fingerpicking pattern
With your hand positioned correctly, you're ready to play your first real pattern. The most beginner-friendly approach when learning how to fingerpick guitar is the p-i-m-a sequence, where your thumb, index, middle, and ring fingers pluck one string at a time in order. Start on a simple open chord like Em or G so you focus entirely on the picking motion rather than on fretting.
The p-i-m-a pattern on a single chord
Place your fingers in the standard assignment from Step 1. Then pluck in this order: thumb on the 4th string, index on the 3rd, middle on the 2nd, and ring on the 1st. Each note should ring out cleanly and separately, not blur into one another.
| Beat | Finger | String |
|---|---|---|
| 1 | p (thumb) | 4th |
| 2 | i (index) | 3rd |
| 3 | m (middle) | 2nd |
| 4 | a (ring) | 1st |
Play this pattern slowly enough that every note sounds clean before you increase your speed.
Building repetition without tension
Repeat the pattern four times on one chord before stopping. Count out loud: 1-2-3-4, 1-2-3-4. Your goal at this stage is smooth, even timing, not speed. If a finger catches or mutes a string, pause, reset your hand position, and start again from beat 1.
Step 3. Add bass movement and chord changes
Once the p-i-m-a pattern feels automatic on a single chord, you're ready to make it musical. Real fingerpicking songs move between chords and use alternating bass notes to create a fuller, more dynamic sound. These two skills together transform a simple exercise into something that actually sounds like a song.
Alternate the bass note with your thumb
Your thumb doesn't have to stay locked on one string. On a G chord, for example, your thumb can alternate between the 6th string on beat 1 and the 4th string on beat 3 while your fingers continue the i-m-a sequence on the remaining beats. This creates a walking bass feel that gives your playing forward momentum.
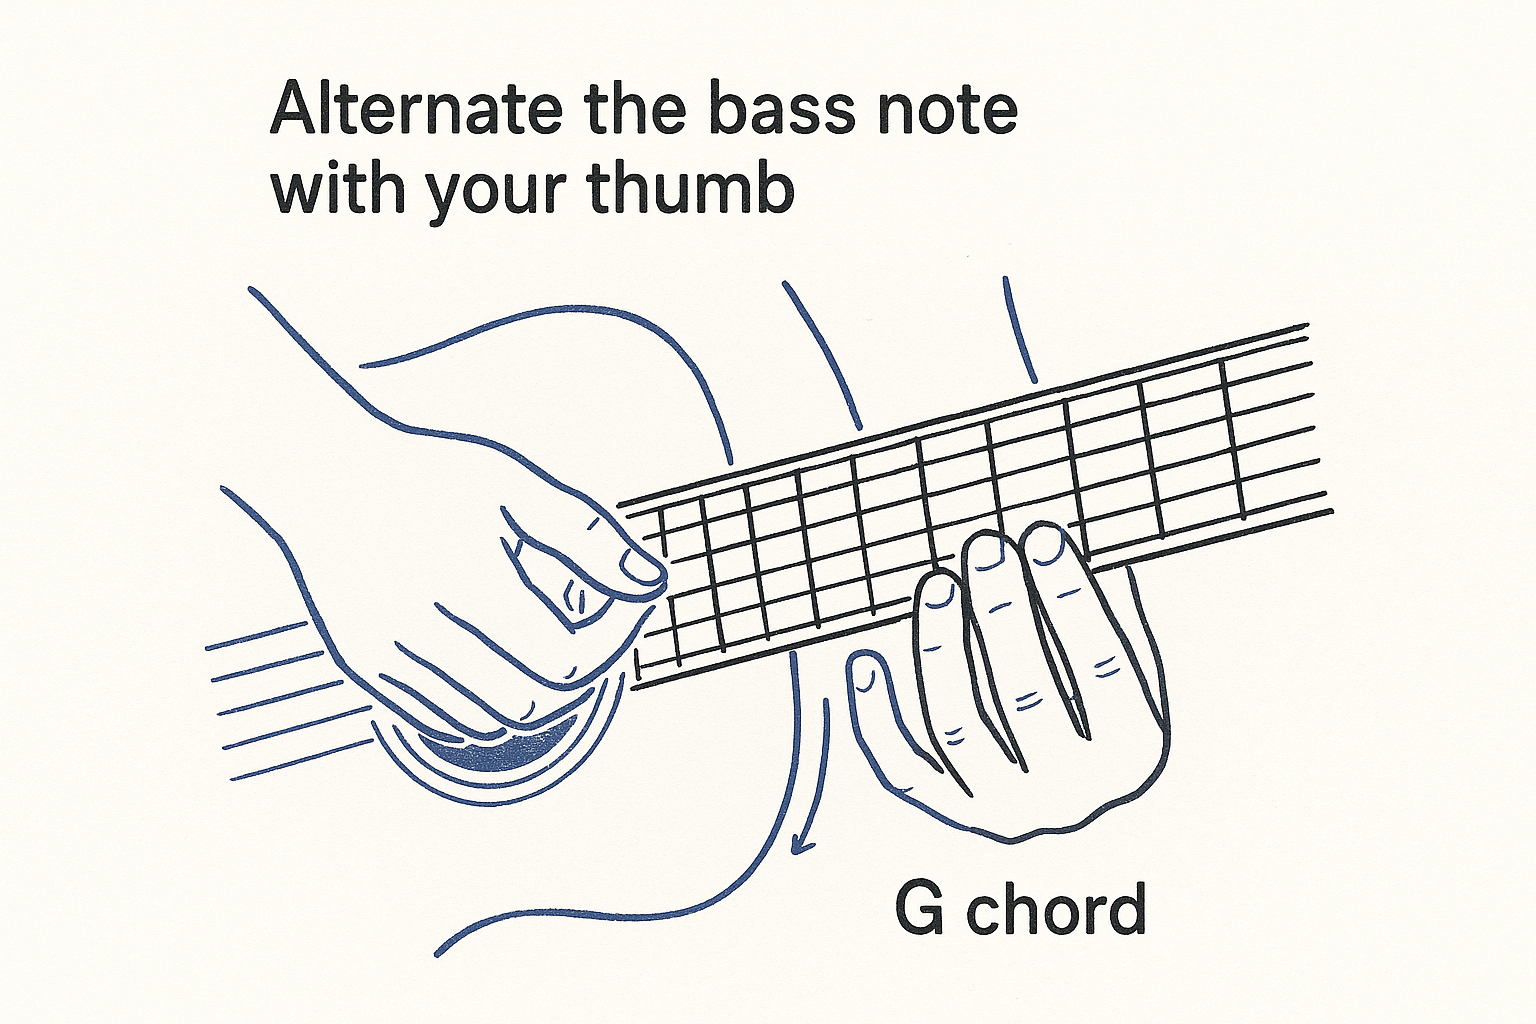
| Beat | Finger | String (G chord) |
|---|---|---|
| 1 | p (thumb) | 6th |
| 2 | i (index) | 3rd |
| 3 | p (thumb) | 4th |
| 4 | m + a | 2nd + 1st |
Keep your fretting hand completely still during a chord change and let only your picking hand move until the new chord shape is fully in place.
Switch chords without breaking the pattern
The hardest part of learning how to fingerpick guitar with chord changes is keeping the picking pattern going while your fretting hand moves. Practice switching between Em and Am because both chords share a similar shape and need only small finger adjustments.
A good drill: play four full repetitions of the pattern on Em, then switch to Am without pausing. Count out loud so you know exactly when the change should happen. Once you can make that switch cleanly three times in a row, add a third chord like C or G.
Step 4. Troubleshoot and practice for progress
Even with good technique, you'll hit walls. The most common issues when learning how to fingerpick guitar are muted strings, uneven timing, and finger collisions. Each one has a direct, specific fix, and catching the problem early prevents it from hardening into a habit you have to unlearn later.
Common problems and fixes
Most muted notes come from your fretting hand, not your picking hand. Check that each finger presses close to the fret wire and that no finger accidentally leans against an adjacent string. For uneven timing, slow down further than feels necessary and count out loud on every beat until the pattern runs automatically.
| Problem | Likely cause | Fix |
|---|---|---|
| Muted strings | Finger not close to fret wire | Reposition fretting fingers |
| Uneven timing | Playing too fast too soon | Drop tempo, count out loud |
| Fingers colliding | Wrist too low | Raise wrist arch slightly |
If a mistake repeats three times in a row, drop your tempo to the point where you play it perfectly, then rebuild speed gradually.
Build consistency with spaced practice
Short, frequent sessions outperform long, sporadic ones. Aim for 15 to 20 minutes daily rather than one long session per week. Your fingers build motor memory through repetition spread across multiple days, not through volume crammed into a single sitting. Tracking which patterns you practiced and when makes it easier to stay consistent and spot gaps before they turn into regression.
Where to go from here
You now have everything you need to start building a real fingerpicking practice. You know how to set up your hand position, how to run your first pattern, how to move between chords, and how to fix the problems that trip up most beginners. The foundation is there. What separates players who progress from those who stall is what happens between sessions, specifically whether they revisit the right patterns at the right time.
That's the exact problem MemoRep is built to solve. Instead of guessing what to practice each day, you log your patterns as practice cards and let the algorithm schedule them based on when your skills are about to fade. Learning how to fingerpick guitar takes consistent repetition over weeks, not a single long session. Try MemoRep free and keep your fingerpicking patterns sharp without the guesswork. The first 200 users get free lifetime premium access.