
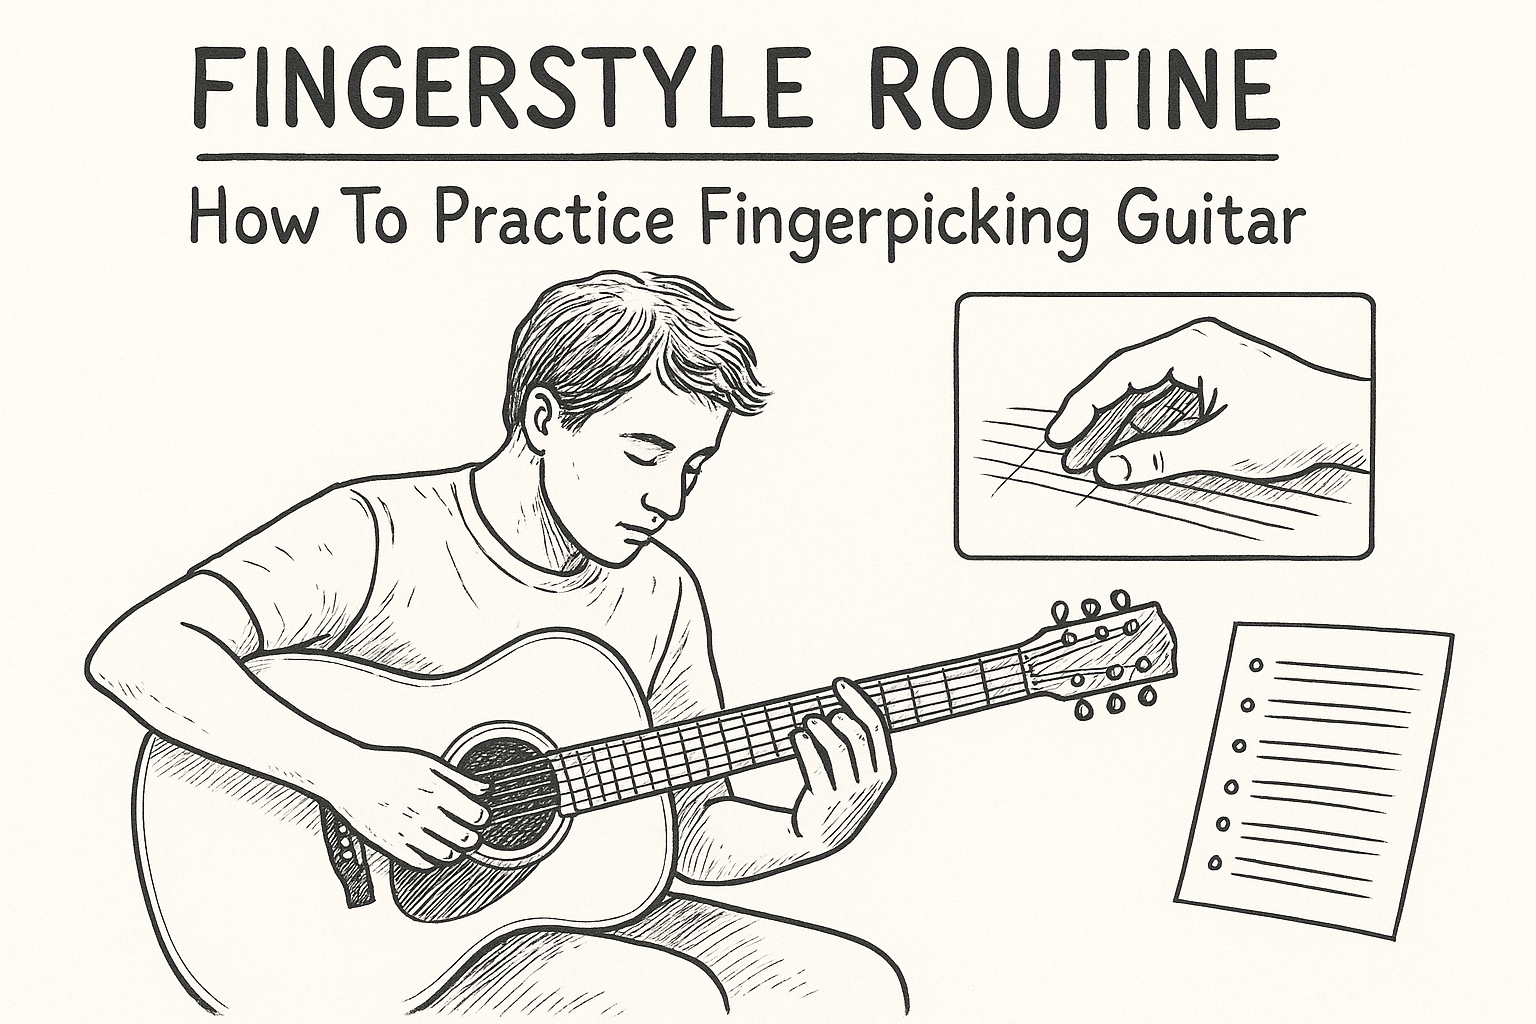
Fingerstyle Routine: How To Practice Fingerpicking Guitar
Most guitarists learn a fingerpicking pattern, play it for a few days, then move on to the next one. A month later, that first pattern feels almost foreign. The problem isn't talent or effort, it's that how to practice fingerpicking guitar matters more than how many hours you spend doing it. Without a structured routine, you end up cycling through the same exercises randomly, losing progress on patterns you've already learned.
The good news: fingerpicking is one of the most rewarding skills to develop on guitar, and it responds incredibly well to deliberate, organized practice. Each pattern you learn builds coordination between your thumb and fingers, and that coordination stacks, as long as you revisit skills before they fade. That's exactly the principle behind spaced repetition, and it's what we built MemoRep to handle for you: scheduling your practice cards at the right intervals so nothing slips through the cracks.
This guide breaks down a complete fingerpicking practice routine, from basic thumb-and-finger independence drills to more advanced coordination exercises. You'll walk away with specific patterns to work on, a clear progression to follow, and a framework for keeping every exercise sharp over time.
What you need before you start
Before diving into specific exercises, a few fundamentals need to be in place. You don't need expensive gear or years of experience, but you do need the right starting conditions to make sure how to practice fingerpicking guitar actually sticks and pays off for you over time.
The gear you'll use
Your guitar matters here. Classical or acoustic guitars with nylon or light-gauge steel strings are easiest on your fingertips when starting out, but any acoustic or electric works fine. Keep your nails trimmed on your fretting hand, and decide early whether you'll use your fingertips, nails, or fingerpicks on your plucking hand. That choice shapes your tone and technique, so commit to one approach before you start building muscle memory.
Here's what to have ready before your first session:
- Guitar: acoustic, classical, or electric all work
- Tuner: clip-on or app-based; accurate intonation keeps your ear honest
- Metronome: a free app is fine, but you need one
- Practice log: a notebook or app to track what you've worked on
A realistic time commitment
Fifteen to twenty minutes of focused daily practice beats an hour of distracted noodling every time. Fingerpicking coordination builds through repetition spread over days and weeks, not crammed into a single long session.
Short, daily sessions build muscle memory faster than infrequent marathon practices.
Tracking what you practice also matters. Even a simple written log of each session stops you from defaulting to comfortable patterns and ignoring the techniques that actually need work.
Step 1. Build the right hand setup and tone
Your right hand position determines everything about your tone and accuracy in fingerpicking. Before you learn a single pattern, spend time establishing a consistent hand anchor and a clear finger assignment, since these decisions shape your technique for everything that follows.
Finger assignment and hand position
The standard approach for how to practice fingerpicking guitar assigns your thumb (p) to strings 4, 5, and 6, your index finger (i) to string 3, middle finger (m) to string 2, and ring finger (a) to string 1. Rest your thumb lightly on the low E string to anchor your hand, then curl your fingers naturally above the strings. Avoid planting your pinky on the guitar body, as it restricts your range of motion.
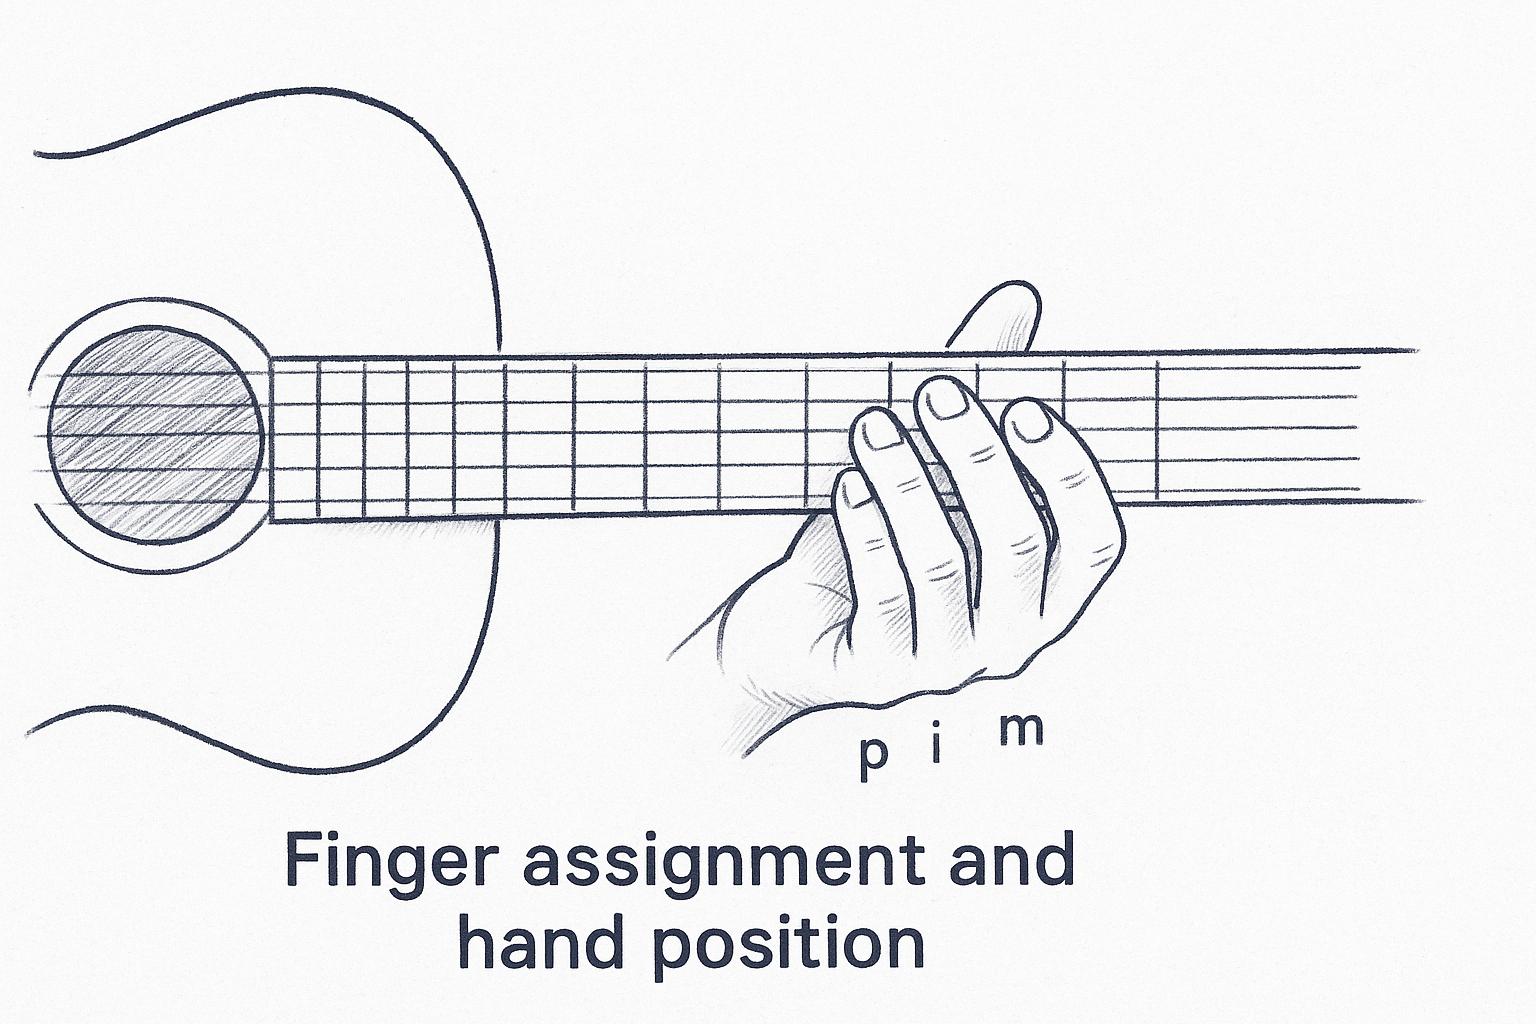
A relaxed hand with gently curved fingers produces a cleaner tone than a tense grip.
Tone: fingertip or nail
Fingertips give you a warmer, rounder tone, while nails add brightness and projection. Neither is wrong, but deciding early prevents you from rebuilding muscle memory later. Try a simple p-i-m-a pluck with each approach and commit to one before moving forward.
Step 2. Lock in timing on open strings
Open strings let you focus entirely on your right hand timing without worrying about fretting. This is the fastest way to learn how to practice fingerpicking guitar with solid rhythm, because your left hand stays completely out of the picture until your plucking motion becomes automatic.
Start with the metronome, not a chord
Set your metronome to 50-60 BPM and play a simple p-i-m-a sequence on open strings. Your goal is not speed but consistent spacing between each pluck. If your ring finger lags behind the others, slow down further until all four fingers land with equal weight and timing.
One even stroke at 50 BPM builds more real coordination than a sloppy run at 120 BPM.
A simple drill to build consistency
Use this four-stroke pattern as your starting drill before touching any chord shape. Each beat gets one clean pluck:
| Beat | Finger | String |
|---|---|---|
| 1 | p (thumb) | 5 |
| 2 | i (index) | 3 |
| 3 | m (middle) | 2 |
| 4 | a (ring) | 1 |
Run this for two full minutes without stopping. Any hesitation points directly to which finger needs more focused work before you move on.
Step 3. Learn core patterns and rolls
Once your timing is solid on open strings, you're ready to work on the patterns that form the backbone of fingerstyle playing. Most fingerpicking music draws from a short list of core patterns, so learning them well gives you immediate access to a wide range of songs without starting from scratch each time.
The Travis picking pattern
Travis picking alternates your thumb between two bass strings while your fingers fill in harmony above. Your thumb covers strings 5 and 6 on alternating beats, while i and m pluck strings 3 and 2. Start at 60 BPM on an open Em shape:
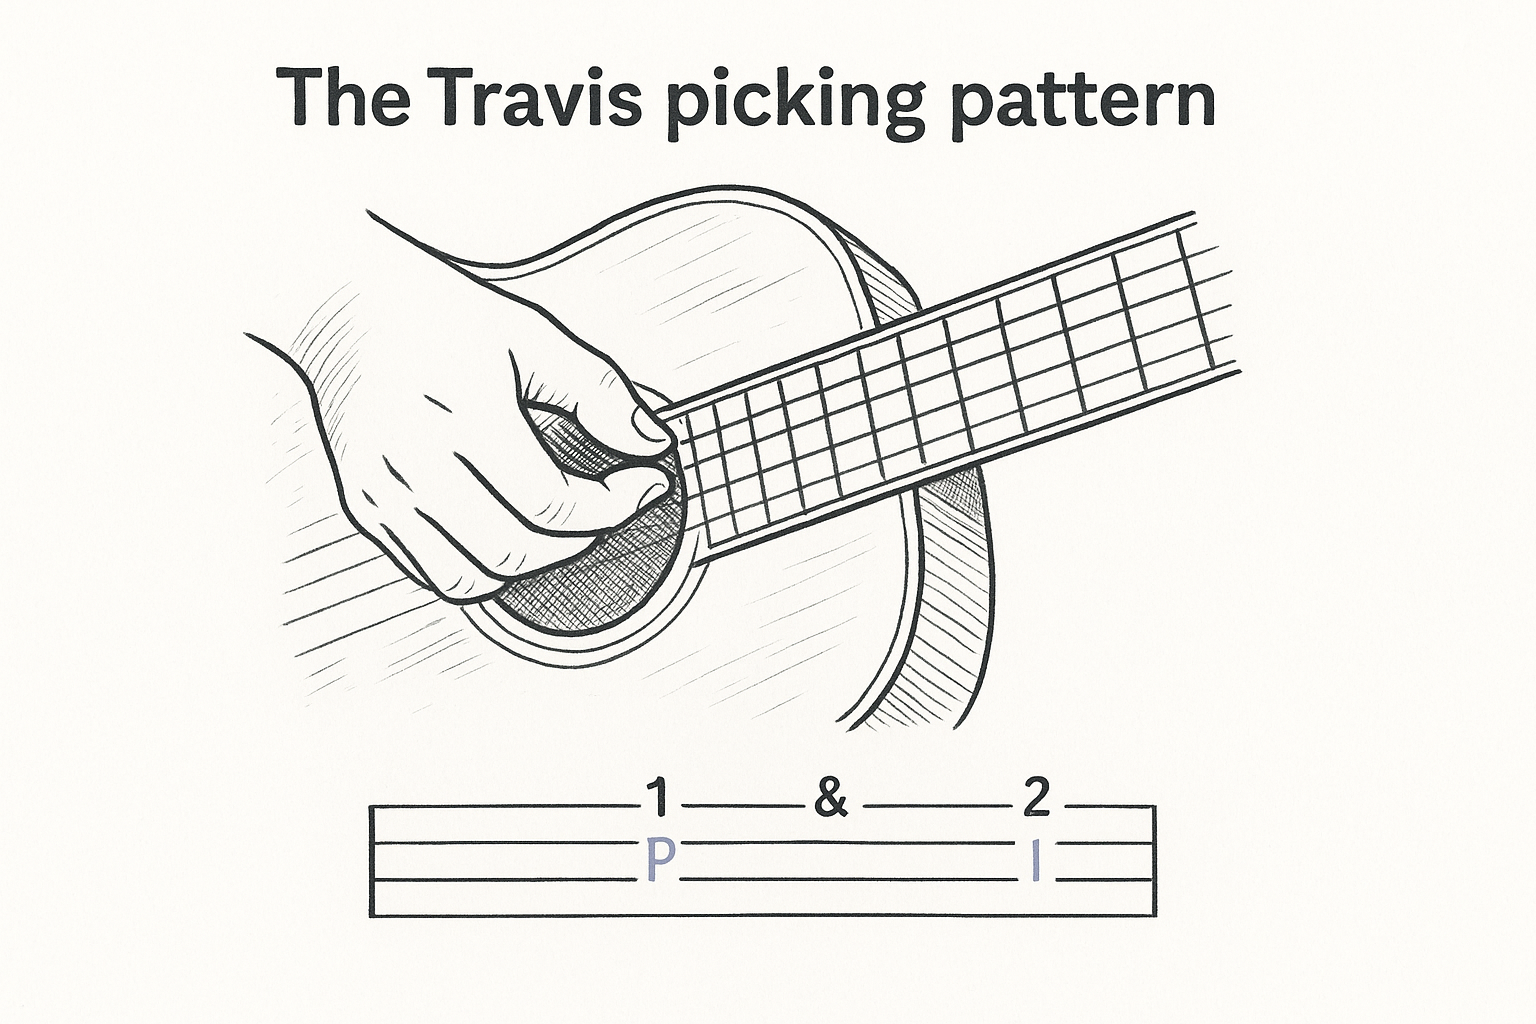
| Beat | Finger | String |
|---|---|---|
| 1 | p | 6 |
| & | m | 2 |
| 2 | p | 5 |
| & | i | 3 |
The arpeggio roll
The arpeggio roll is the clearest way to practice how to practice fingerpicking guitar at the pattern level. Play p-i-m-a sequentially across strings 5 through 1, letting each note ring as you move forward. Keep your thumb steady and fingers relaxed so the roll sounds even rather than rushed.
A clean arpeggio at 60 BPM reveals more about your finger independence than any fast run will.
Step 4. Add chords, bass movement, and changes
Now that your patterns are solid on open strings, it's time to apply them to actual chord shapes and moving bass lines. This is where how to practice fingerpicking guitar starts to feel like real music rather than isolated drills, and it's also where most guitarists rush and fall apart.
Practice patterns over static chords first
Start by holding a single chord, like G or Em, and running your Travis picking or arpeggio pattern over it without changing. Your left hand stays locked while your right hand focuses on staying clean and even throughout. Once you can run two full minutes without a timing break, you're ready to move on.
Nailing one chord before moving between two will save you hours of frustration later.
Add chord changes slowly
Introduce a simple two-chord progression like G to Cadd9, and change on beat 1 of every second bar. Keep your metronome at 50-60 BPM so your fretting hand can shift positions without breaking the right-hand pattern. When the change feels smooth, cut the bar count in half and change every bar instead.
Step 5. Turn exercises into a weekly routine
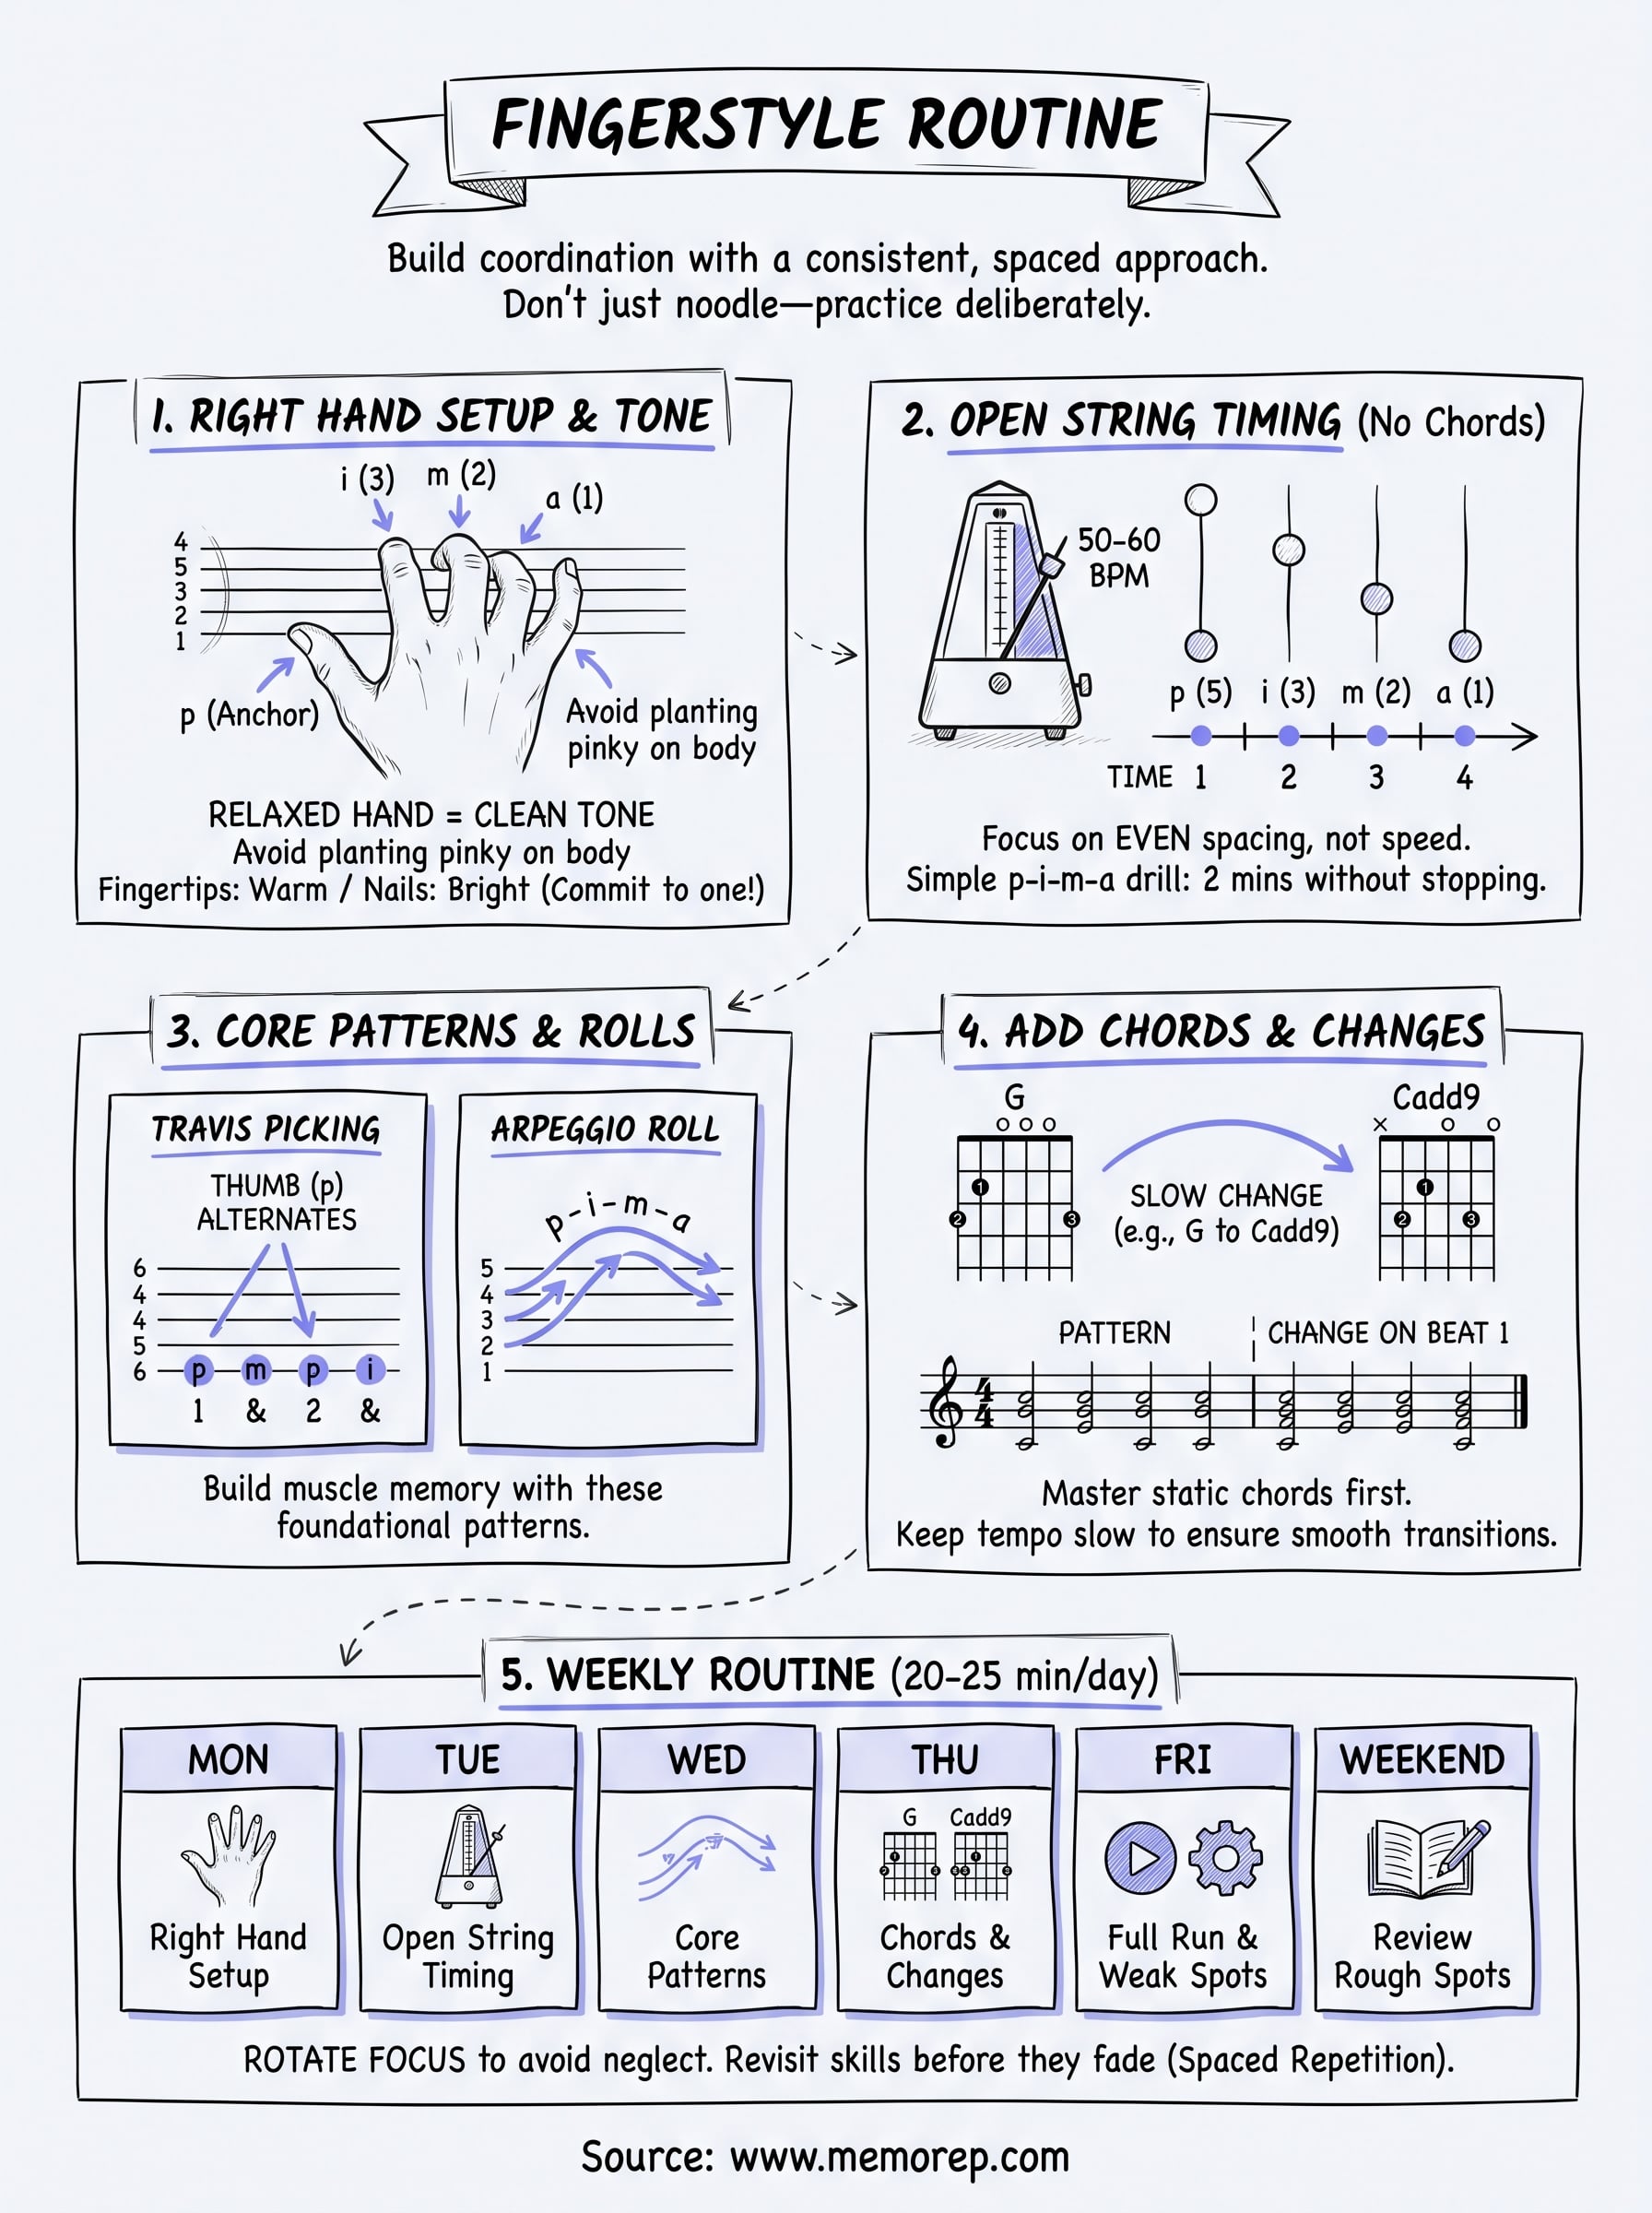
Practicing every drill every day burns time and leads to fatigue. The smarter move is to spread your exercises across the week so each skill gets focused attention without crowding a single session. Structuring your week around specific focuses is the clearest way to practice how to practice fingerpicking guitar as a system rather than a collection of random drills.
A simple weekly template
Assign each session a primary focus area and open with a two-minute warm-up from an earlier step. Keep sessions to 20-25 minutes and rotate your focus so all five skill areas get regular coverage. When something feels rough on Friday, flag it as your priority for the following Monday.
Rotating focus day by day stops you from drilling your strengths while your weak spots quietly fall behind.
| Day | Focus | Time |
|---|---|---|
| Monday | Right hand setup and tone | 20 min |
| Tuesday | Open string timing drills | 20 min |
| Wednesday | Core patterns and rolls | 25 min |
| Thursday | Chords and chord changes | 25 min |
| Friday | Full run-through and weak spots | 20 min |
| Weekend | Review anything that felt rough | 15 min |
Keep it consistent
The biggest factor in how to practice fingerpicking guitar isn't the quality of your exercises, it's whether you show up regularly and revisit skills before they fade. A perfect session once a week beats a month-long streak followed by two weeks of nothing. Your coordination and muscle memory build through repeated contact over time, not through single bursts of effort.
The routine in this guide gives you a clear path, but following it long-term means tracking what you practice and flagging what needs more attention. Without that layer, you'll drift back to comfortable patterns and let weaker skills slide. Spaced repetition is the most efficient system for keeping every skill sharp at the same time, and it removes the guesswork entirely.
If you want a tool that schedules your practice automatically so nothing slips, try MemoRep free while the beta is open. It tracks your exercises and tells you exactly what to practice next and when.