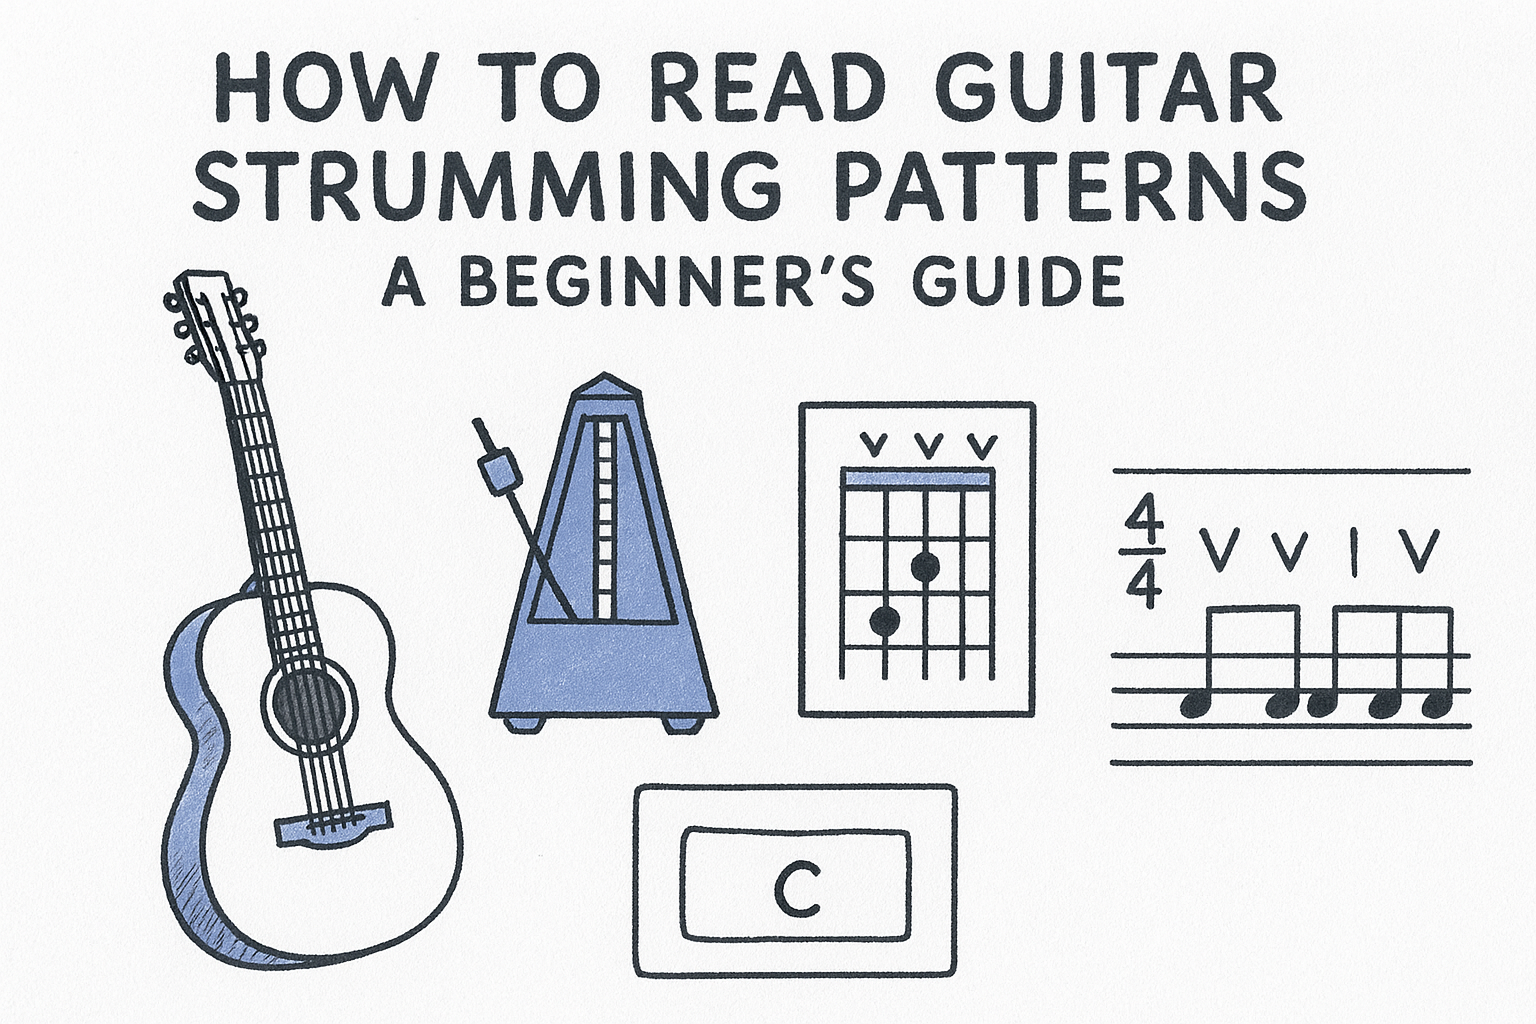
How to Read Guitar Strumming Patterns: A Beginner's Guide
You found a strumming pattern online, but the arrows, D's and U's, and random slashes look like a foreign language. You're not alone. Learning how to read guitar strumming patterns trips up almost every beginner, because nobody actually sits down and explains the symbols before throwing sheet music at you. That gap between seeing notation and playing it confidently is exactly what stalls progress on rhythm guitar.
Here's the direct answer: strumming notation uses a small set of symbols, arrows for down and up strokes, letters like D and U as shorthand, and marks for mutes or accents, arranged above the beat count of a bar. Once you know what each symbol means and how it lines up with counting "1 2 3 4," you can decode any pattern in seconds instead of guessing by ear.
This guide walks through each symbol one at a time, shows you how to count patterns in 4/4 time, and gives you practice examples to build the skill hands-on. By the end, you'll read a strumming chart the way you'd read a stop sign, instantly. And if you want that skill to stick, spaced repetition through a tool like MemoRep can keep these patterns from getting rusty between practice sessions.
What you need to know before reading strum patterns
Before you decode a single arrow, get clear on what strumming notation actually represents. It's not sheet music with pitches and note values. It's a rhythm map, a shorthand that tells your strumming hand when to move down, when to move up, and when to stay still. Think of it like a drum groove written in symbols instead of standard notation. You're not reading melody, you're reading motion.
Grab a few things before you start decoding patterns. You don't need much, but having the right setup makes the difference between frustration and steady progress.
- A guitar in standard tuning, even an acoustic works fine for this
- A metronome app or click track (your phone's metronome app is enough)
- A chord you already know well, like G, C, or Em, so your fretting hand isn't the bottleneck
- A printed or digital strumming pattern to practice against, ideally one with both arrows and D/U letters
Understanding rhythm subdivisions matters just as much as the symbols themselves. Most beginner patterns live in 4/4 time, where each bar breaks into four beats, and each beat can subdivide further into eighth notes (
Step 1. Find the time signature and count the beats
Spot the time signature first
Before your hand moves at all, check the top of the chart for the time signature, usually 4/4 for the vast majority of pop, rock, and folk songs. That fraction tells you how many beats live in each measure and what note value counts as one beat. Occasionally you'll bump into 3/4 (waltz feel) or 6/8 (that rolling, triplet bounce), but if nothing's listed, assume 4/4 and count to four. Skipping this step is the fastest way to misread a pattern, because every arrow and letter that follows only makes sense once you know how many beats you're dividing.
Count beats out loud before you strum
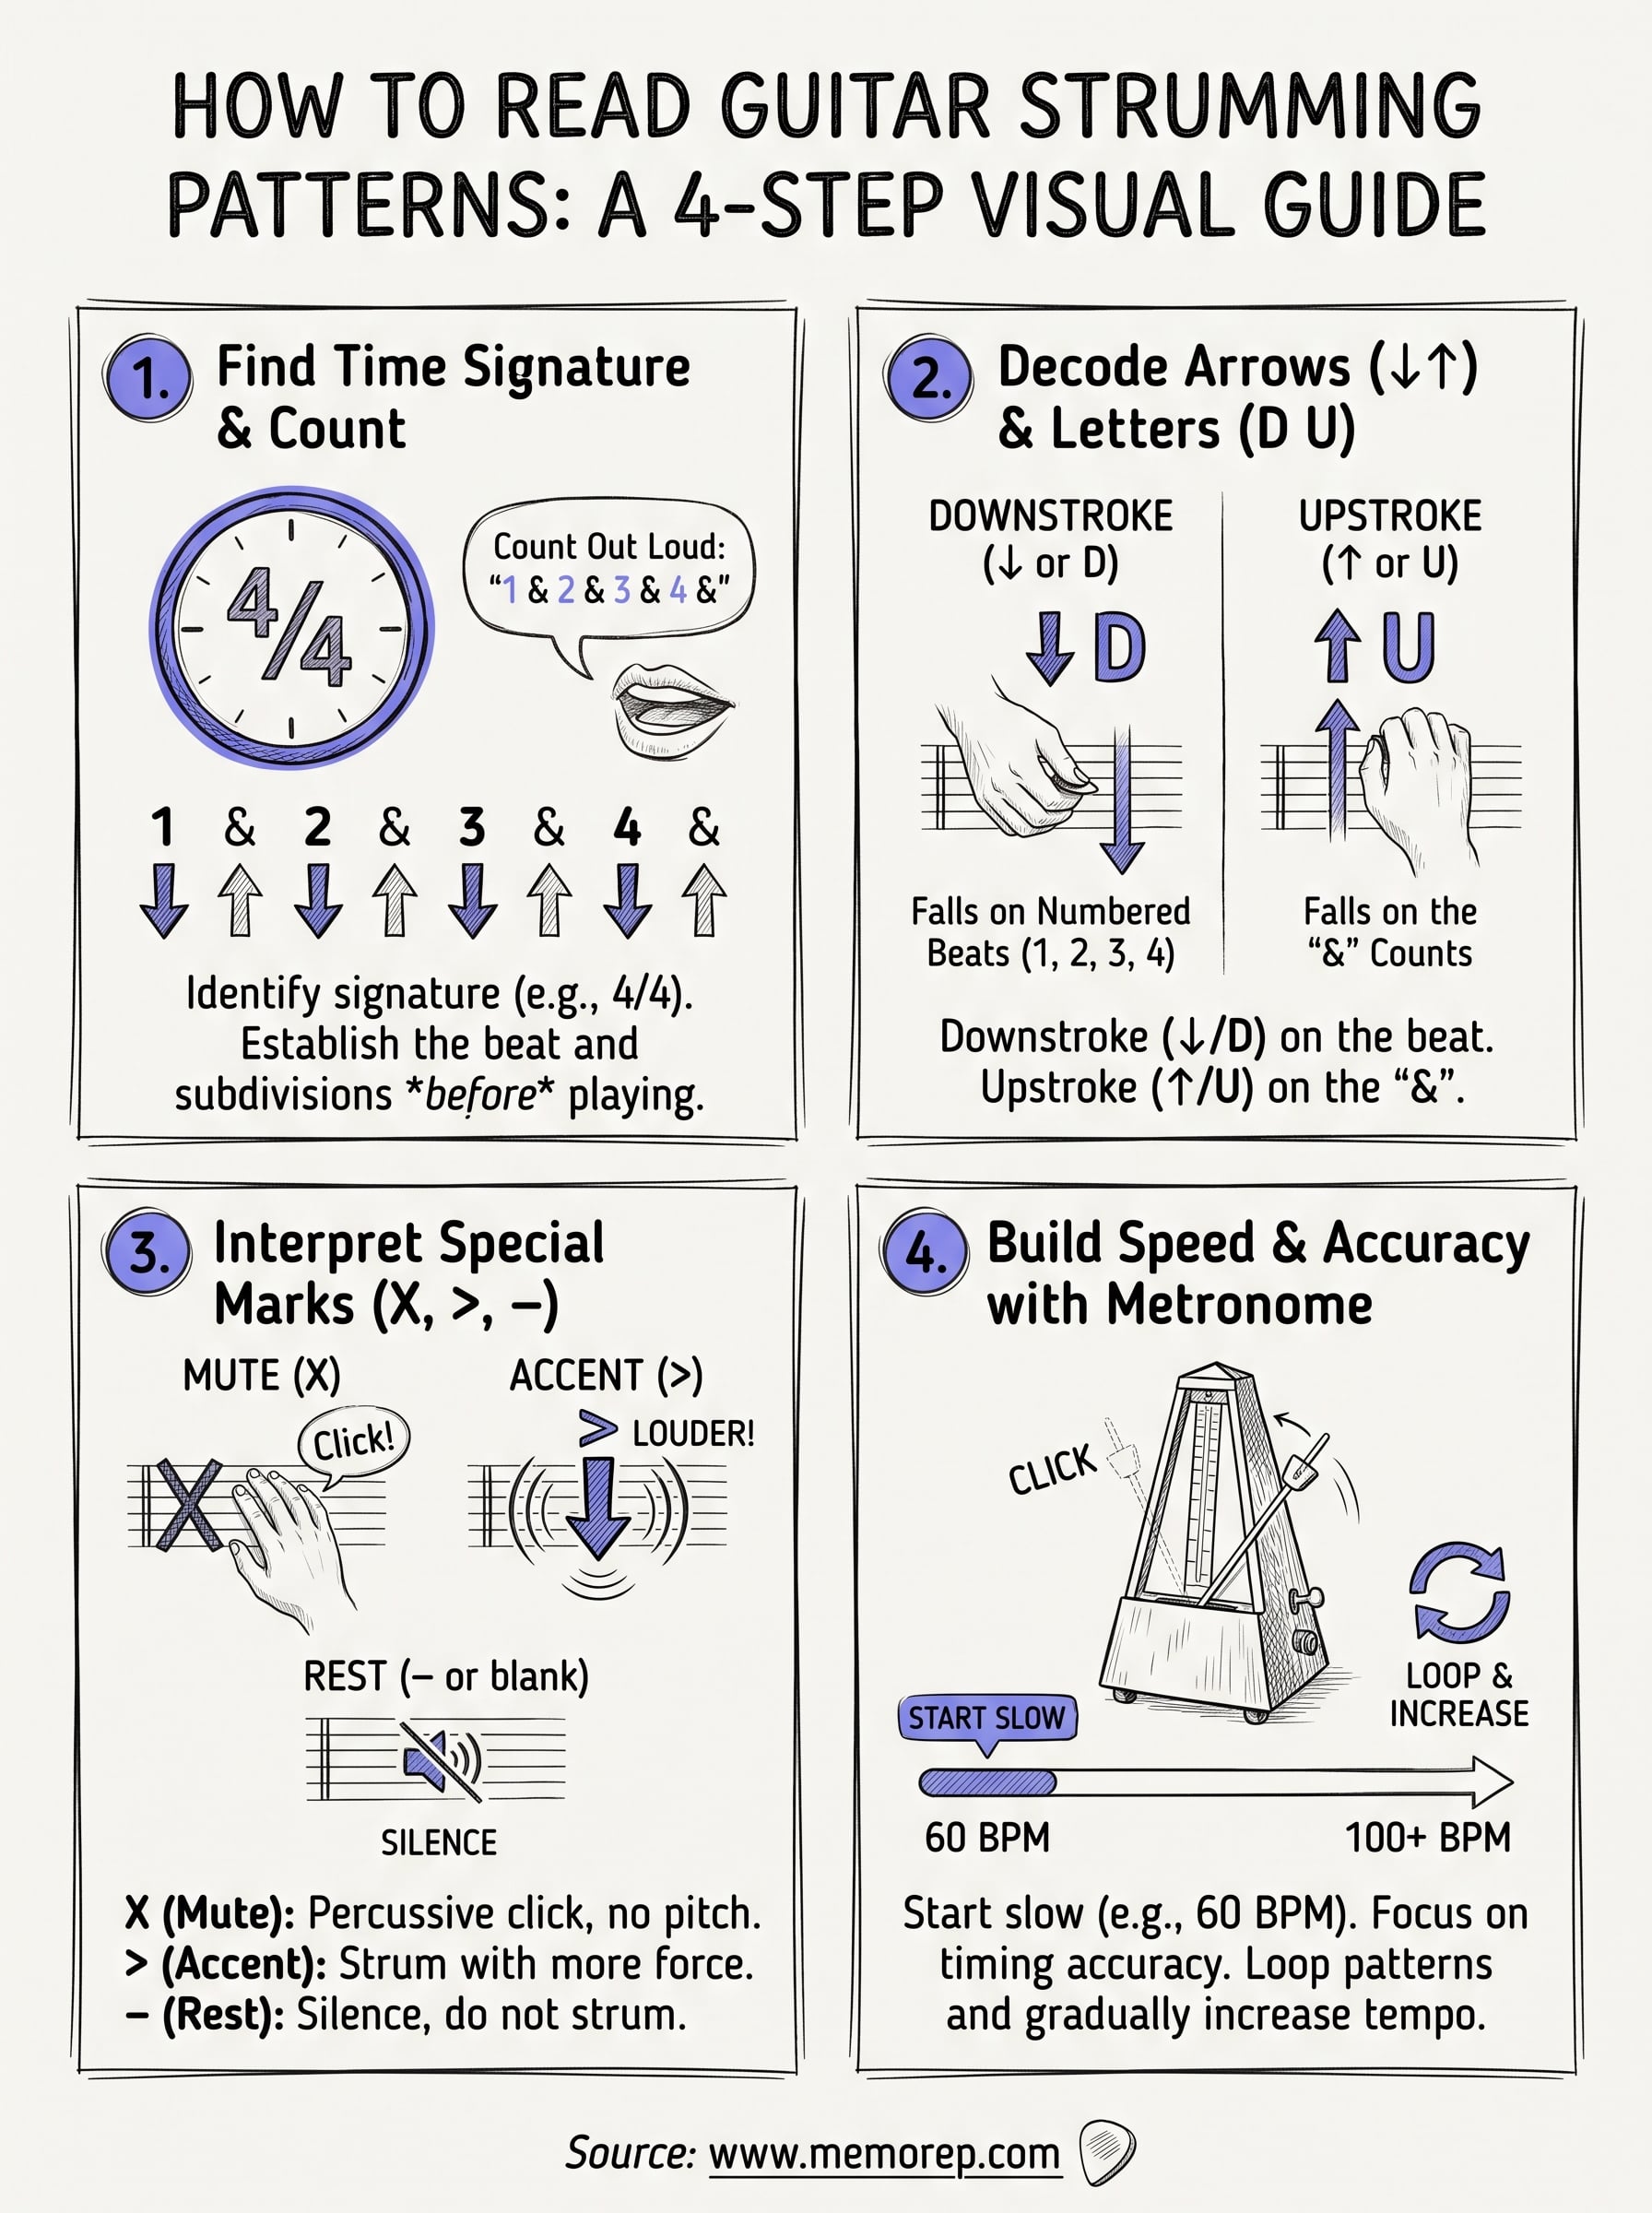
Once you know the signature, count the beats out loud, slowly, before your hand touches a single string. In 4/4 time that's "1, 2, 3, 4," repeated for each bar. Most strumming patterns split each beat in half, so you'll count "1 & 2 & 3 & 4 &," with the "&" landing exactly between beats.
If you can't count the beat out loud, you can't strum the pattern correctly.
Practicing counting subdivisions this way, before adding chords, builds the timing foundation every symbol in the next step depends on.
Step 2. Learn the arrow and letter symbols
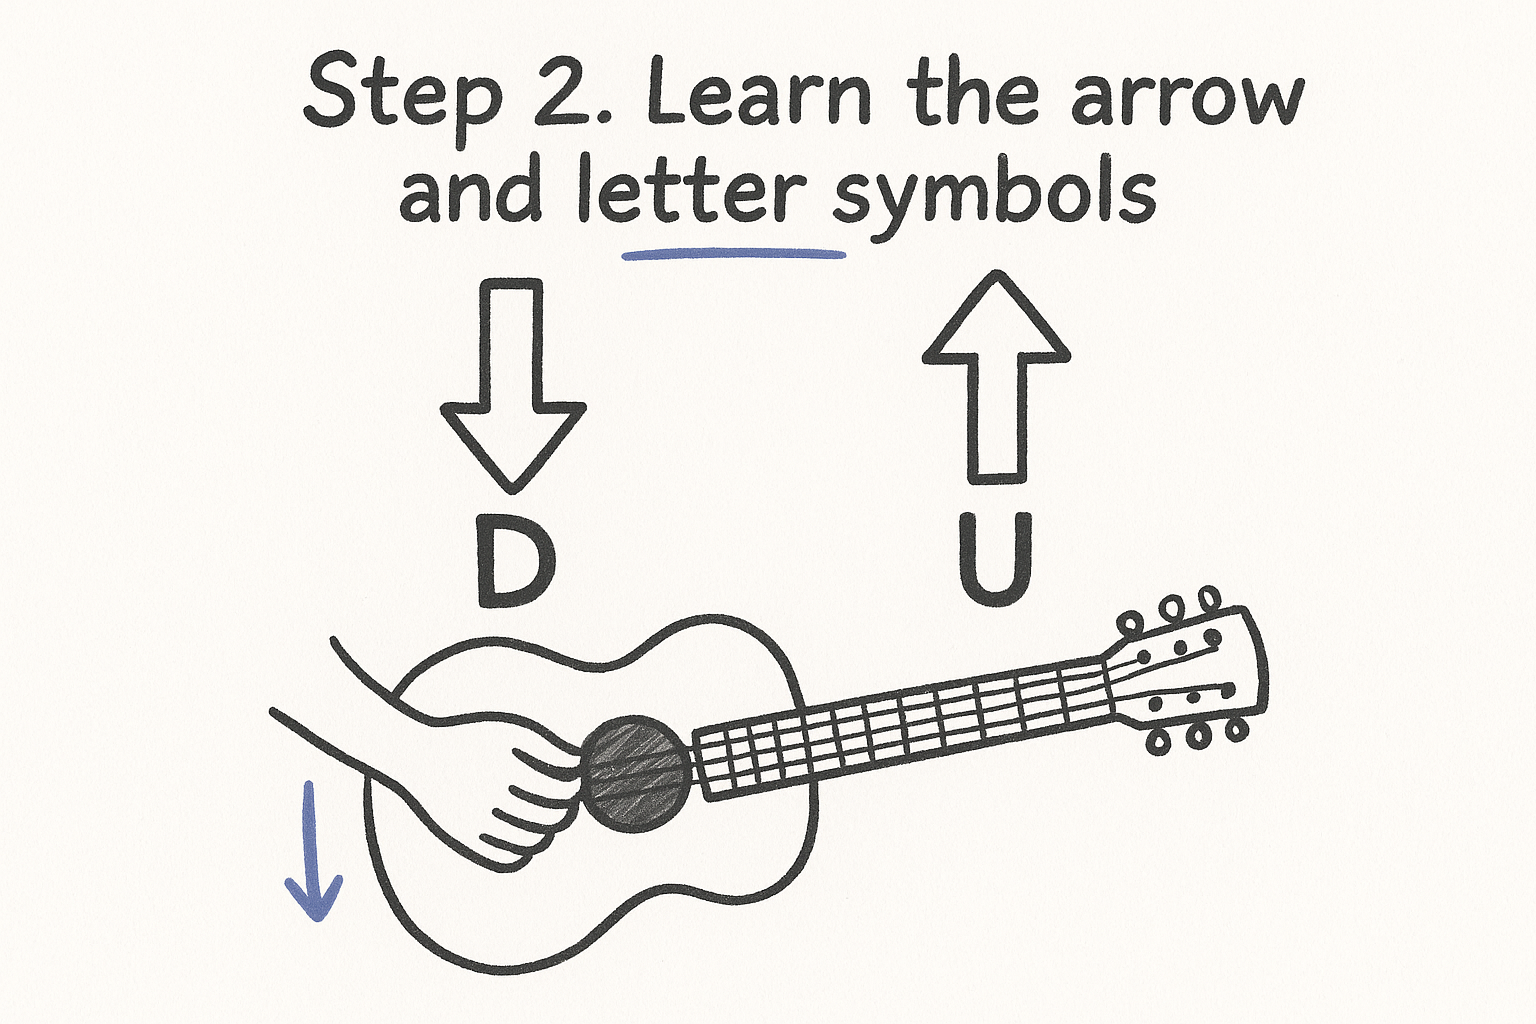
Once you can count the beat, the symbols themselves are simple. Strumming charts use two visual systems, often side by side: arrows pointing down or up, and letters like D and U as shorthand for the same motion. Neither system is harder than the other, so pick whichever matches the chart you're working from and stick with it.
Down strokes and up strokes
A downward arrow (↓) or the letter D means you strum toward the floor, brushing from the low strings to the high strings. An upward arrow (↑) or a U means the reverse, brushing from high strings back to low. Downstrokes almost always land on the numbered beats (1, 2, 3, 4), while upstrokes usually fall on the "&" counts between them.
Down lands on the number, up lands on the "and," every time.
Common symbol table
| Symbol | Meaning | Typically falls on |
|---|---|---|
| ↓ or D | Downstroke | Numbered beat |
| ↑ or U | Upstroke | "&" count |
| ↓↑ | Down-up pair | One full beat |
Memorize this pairing habit, and reading any basic chart becomes mechanical rather than mysterious.
Step 3. Decode mutes, accents, and rests
Once you've got downstrokes and upstrokes locked in, you'll start seeing extra marks that trip people up: X's, accent marks, and empty spaces. These aren't optional extras, they're what turns a stiff, robotic pattern into something that actually grooves.
Muted strums (the X symbol)
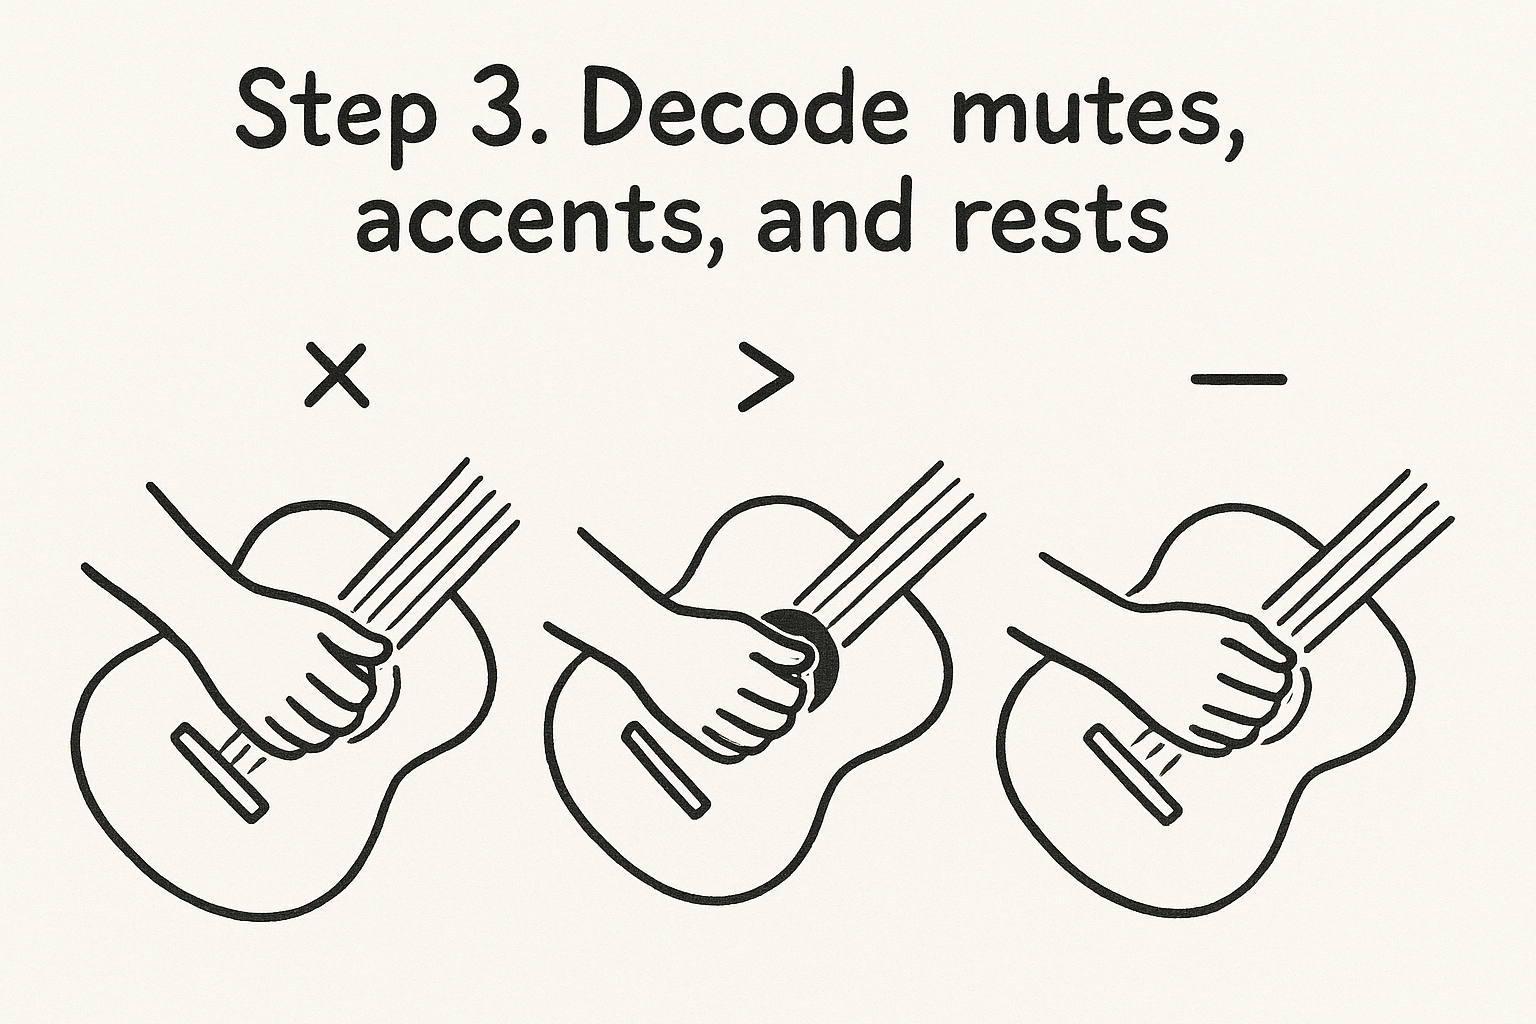
An X above a beat means you mute the strings before you strum, usually by resting the side of your fretting hand or your strumming palm against the strings so you get a percussive click instead of a ringing chord. You still move your hand down or up on that beat, you just kill the pitch. This is what gives funk and reggae patterns their punch.
Accents and rests
A symbol like > or a bolded letter tells you to strum harder on that beat, emphasizing it against the surrounding strums. It's the same motion, just louder. A blank space or a dash, on the other hand, means silence, don't strum at all on that count.
Silence in a strumming pattern is a note, not a mistake to fix.
Skip a rest and you'll rush the whole bar, so treat that empty beat with the same respect you'd give a downstroke.
Step 4. Practice the pattern slowly with a metronome
Knowing every symbol on the chart doesn't mean much until your hand can actually execute it in time. This is where a metronome app earns its place as your most important practice tool, because it exposes every place where you rush, drag, or guess instead of read.
Set a tempo you can actually play
Start absurdly slow, somewhere around 60 beats per minute, even if the song plays at 120. Strum through the pattern one bar at a time, checking each downstroke and upstroke against the click before moving on. Speed comes later. Accuracy comes first.
Loop it until it's automatic
A strumming pattern you can only play once isn't learned yet, it's memorized for a moment.
Run the same four-bar loop for a few minutes, then bump the tempo up five beats per minute and repeat. Try this progression:
- 60 BPM: nail every symbol, even if it feels choppy
- 80 BPM: smooth out the transitions between down and up strokes
- 100+ BPM: match the actual song tempo
Tracking which patterns you've drilled, and when you last revisited them, matters more than most beginners realize. A spaced repetition system like MemoRep schedules that review automatically, so a pattern you nailed last week doesn't quietly go stale.
Making strumming notation second nature
Reading strumming patterns stops feeling like decoding a foreign language once you've walked through it symbol by symbol. You now know how to find the time signature, count beats out loud, tell downstrokes from upstrokes, and spot the mutes, accents, and rests that give a pattern its groove. The last piece is repetition at the right intervals, not just cramming one chart until your hand cramps.
Here's the honest truth about rhythm skills: they fade fast if you don't revisit them. A pattern you nailed at 100 BPM last month can feel unfamiliar again in a few weeks if you never come back to it. That's the exact problem spaced repetition was built to solve, and it's why musicians use MemoRep to schedule practice on strumming patterns, scales, and songs automatically instead of guessing what needs review. If you want to see the algorithm behind it, check out how memoRep's scheduling actually works.