How to Identify Intervals by Ear: A Step-by-Step Guide
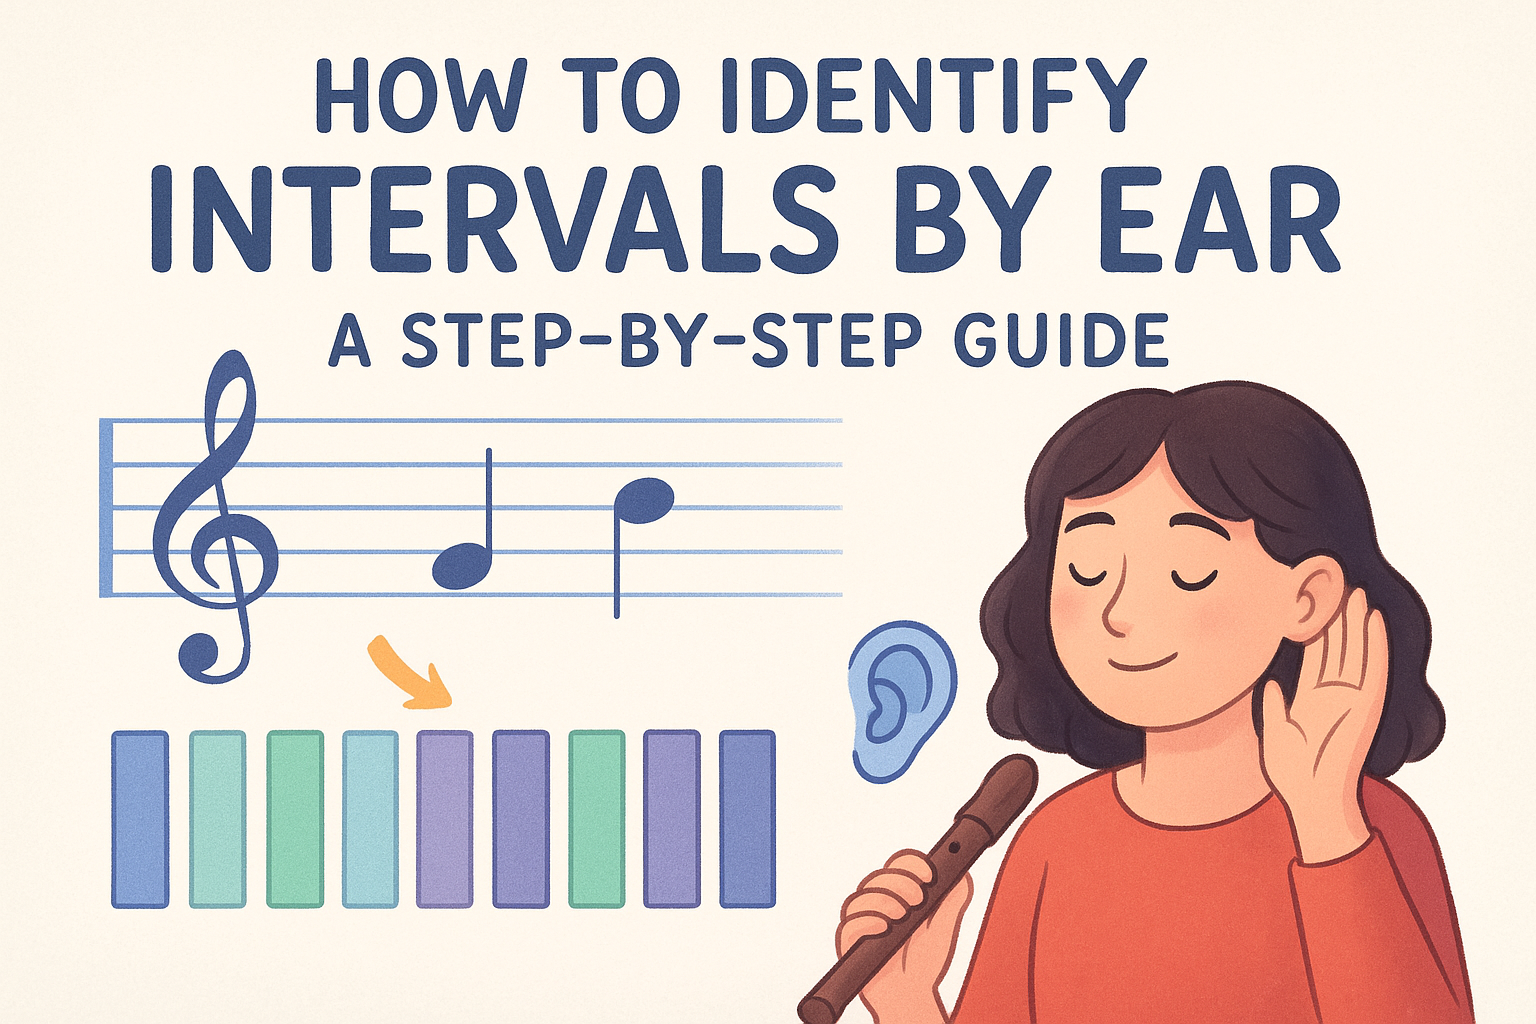
You hear a leap between two notes and your brain goes blank. Is that a fifth? A sixth? You guess, get it wrong, and move on without ever fixing the gap. Learning how to identify intervals by ear is one of those skills that feels mysterious until someone breaks it into a repeatable process, and that's exactly what trips up most self-taught musicians.
The fix isn't talent, it's method. Every interval has a reference song trick attached to it (think "Here Comes the Bride" for a perfect fourth), and once you pair that with consistent daily drilling, recognition starts happening instantly instead of after ten seconds of guessing.
This guide walks through the exact steps: picking your reference songs, drilling ascending and descending intervals separately, and building a spaced review habit so what you learn on Monday doesn't vanish by Friday. That last part matters more than most guides admit, since ear training fades fast without structured revisiting, which is precisely the kind of practice problem tools like MemoRep were built to solve.
Understanding intervals before you start training
Before you drill a single interval, you need a clear mental model of what you're actually listening for. An interval is simply the distance between two pitches, measured in semitones. A perfect fifth is always seven semitones apart, whether you play it on a guitar, sing it, or hear it in a car horn. Skipping this foundation is why so many musicians plateau: they try to memorize sounds without ever getting better at music theory and the structure behind them, so the recognition never sticks past a lucky guess.
Semitones are the real unit of measurement
Forget counting letter names on a staff. Counting semitones is what your ear actually tracks, and it's the only method that works whether you're reading notation, tabbing out a riff, or transcribing a solo from a recording. Two notes that look like a third on paper (C to E, or C to Eb) can be a major third or a minor third depending on the semitone count, and those two sound completely different despite looking almost identical on a page.
| Interval | Semitones | Quality |
|---|---|---|
| Unison | 0 | Perfect |
| Minor 2nd | 1 | Minor |
| Major 2nd | 2 | Major |
| Minor 3rd | 3 | Minor |
| Major 3rd | 4 | Major |
| Perfect 4th | 5 | Perfect |
| Tritone | 6 | Diminished/Augmented |
| Perfect 5th | 7 | Perfect |
| Minor 6th | 8 | Minor |
| Major 6th | 9 | Major |
| Minor 7th | 10 | Minor |
| Major 7th | 11 | Major |
| Octave | 12 | Perfect |
An interval isn't a note, it's a distance, and your ear only ever learns distances.
Ascending and descending intervals aren't the same skill
Here's the part beginners consistently miss: an ascending major sixth and a descending major sixth are two separate skills, not one skill in two directions. Your brain builds a distinct memory for each direction because the melodic shape, the tension, and the resolution all feel different depending on whether the pitch rises or falls. If you only ever drill intervals going up, you'll freeze the moment a melody drops instead of climbing, so budget practice time for both directions from day one rather than assuming one covers the other.
Melodic versus harmonic intervals change what you're listening for
Melodic intervals play one note after the other, which is what you'll hear most in a solo line, a vocal melody, or a bassline. Harmonic intervals play both notes at once, which is what you're actually judging when you analyze a chord voicing or a two-note dyad in a guitar part. These two contexts train slightly different listening habits: melodic recognition depends on tracking pitch movement over time, while harmonic recognition depends on judging the blend and tension between simultaneous pitches. Most interval recognition practice should start melodic, since it's easier for beginners to isolate, then move to harmonic once the melodic versions feel automatic.
Getting this foundation right before you touch a single reference song or app drill saves you weeks of frustration. Once semitone counting, direction, and melodic-versus-harmonic context feel natural, every step that follows in this guide clicks into place faster, because you're not fighting confusion about what you're actually supposed to be hearing.
Step 1. Learn the 12 interval types and their sound
Before any reference song or app drill does you any good, you need a baseline label for each of the 12 interval types inside one octave. Think of this step as building a mental filing cabinet: every interval gets a folder, and later steps just fill those folders with sound memories. Skip this and you'll spend months guessing without ever narrowing down what you're actually comparing against.
Group intervals by character, not just by name
Rather than memorizing all 12 in a random order, group them by the feeling they produce. Perfect intervals (unison, fourth, fifth, octave) sound stable and open, almost hollow. Major intervals (second, third, sixth, seventh) sound bright and resolved. Minor intervals (second, third, sixth, seventh) sound darker or more tense. The tritone sits alone, restless and unresolved, which is exactly why it's nicknamed the "devil's interval."
If you can name the feeling before you can name the interval, you're already halfway to recognizing it by ear.
Play each interval slowly on your own instrument
Sit at a piano or pick up your guitar and play each interval ascending, then descending, then as a two-note chord. Don't rush this. Spend real time noticing how a minor third feels different from a major third even though they're only one semitone apart.
- Play the interval melodically (one note, then the next)
- Play it harmonically (both notes together)
- Say its name out loud each time you play it
- Repeat each interval five times before moving to the next
This simple loop of naming while listening trains the connection between label and sound faster than passive listening ever will, because you're forcing your brain to retrieve the name instead of just recognizing it passively, which is active recall learning in its simplest form.
Use a keyboard app if you don't play an instrument
No piano at home? A free virtual keyboard app on your phone works fine for this step. What matters isn't the instrument, it's the repetition of hearing each interval quality paired immediately with its correct name. Musicians who skip an instrument entirely and rely only on recordings tend to lag behind, because active production, even clumsy production, builds a stronger memory trace than passive listening alone.
By the end of this step you should be able to play all 12 intervals from any starting note without hesitation. That fluency on your own instrument becomes the anchor every later drill in this guide builds on.
Step 2. Match each interval to a reference song
Once you can play all 12 intervals on your own instrument, the next move is attaching each one to a familiar melody. Your brain already has thousands of songs stored away, so borrowing that memory is faster than building a new one from scratch. This is the classic reference song method, and it works because you're not memorizing an abstract sound, you're recalling a tune you already know by heart.
Pick one song per interval and stick with it
Resist the urge to collect multiple songs for the same interval. Having three options for a major third just adds hesitation when you're trying to identify one quickly. Choose a single, unmistakable example for each interval and lock it in.
| Interval | Direction | Reference song |
|---|---|---|
| Minor 2nd | Ascending | "Jaws" theme |
| Major 2nd | Ascending | "Happy Birthday" (first two notes) |
| Minor 3rd | Ascending | "Greensleeves" (opening) |
| Major 3rd | Ascending | "Kumbaya" |
| Perfect 4th | Ascending | "Here Comes the Bride" |
| Tritone | Ascending | "The Simpsons" theme (opening leap) |
| Perfect 5th | Ascending | "Twinkle Twinkle Little Star" |
| Minor 6th | Ascending | "The Entertainer" (opening) |
| Major 6th | Ascending | "My Bonnie Lies Over the Ocean" |
| Minor 7th | Ascending | "There's a Place for Us" (West Side Story) |
| Major 7th | Ascending | "Take On Me" (chorus leap) |
| Octave | Ascending | "Somewhere Over the Rainbow" |
Pick one song per interval and never swap it out, consistency beats variety when you're building instant recall.
Build a descending set too
Since descending intervals are a separate skill, as covered earlier, you need a second set of reference songs going down instead of up. "Mary Had a Little Lamb" gives you a descending major second, and the theme from "Jurassic Park" gives you a descending perfect fourth. Don't skip this half of the table just because it feels redundant, it isn't.
Write your list somewhere you'll actually see it
Type your final 24 pairings (12 ascending, 12 descending) into a note on your phone, or better yet, turn each one into a practice card you review daily instead of a static list you forget about after a week. Testing yourself against your own list, out loud, without looking, is what turns a written reference into an instant reflex the next time an interval shows up in a real song.
Step 3. Sing intervals to reinforce what you hear
Hearing an interval is only half the job. Singing it back closes the loop, because your voice can't fake a pitch the way your ear can fake recognition. When you have to actually produce a minor sixth with your own vocal cords, you find out fast whether you truly know that interval or just recognized its vibe from a reference song. This step is where passive listeners turn into musicians who can identify intervals on command, in any key, without a piano nearby to check themselves against.
Why singing beats passive listening
When you sing an interval, you're forced to predict the target pitch before you hit it, which is a completely different cognitive task than recognizing a sound after the fact. Production-based practice like this builds a stronger, more durable memory trace than listening alone, similar to how writing a word from memory teaches spelling better than just reading it. Musicians who skip singing tend to plateau at recognizing intervals only in familiar contexts, while singers can transfer the skill to unfamiliar melodies almost immediately.
If you can sing it accurately, you actually know it, if you can only recognize it, you're still guessing with extra steps.
Start with a drone and sing up from it
Play a single sustained note, called a drone, on your instrument or a drone app, then sing each interval above it one at a time.
- Sing the root note first and hold it until it locks in
- Sing up to the target interval, checking against your instrument
- Sing the interval name out loud immediately after
- Repeat descending from the same drone note
- Move the drone to a new starting pitch every few days so you're not memorizing one key
Record yourself to catch pitch drift
Without a recording, you can't tell if you're actually landing on the correct pitch or just drifting close enough to fool yourself. Use your phone's voice memo app, sing the interval, then check it against a piano or tuner app right after. Compare your recorded pitch to the target note and note how far off you were in cents if your tuner shows that level of detail. Doing this a few times a week reveals patterns fast, most singers consistently undershoot minor intervals and overshoot major ones until they've corrected the habit through repeated, checked practice.
Step 4. Drill recognition with ear training apps and tracks
Apps solve a problem that reference songs and singing can't: randomized, unpredictable drilling. When you quiz yourself with your own reference song list, you already know the order and half-remember the answer before the sound even plays. A good ear training app strips that predictability away, firing intervals at you in random order and random keys, which is the only way to know if you actually recognize the sound or just recognize the sequence.
What to look for in an app
Not every app is built the same, and picking the wrong one wastes practice time, so it helps to compare the best apps to learn music theory and ear training before you commit. Before committing to one, check that it covers these basics:
- Plays both ascending and descending intervals, not just one direction
- Offers melodic and harmonic modes separately
- Randomizes the starting note so you're not always hearing intervals from middle C
- Tracks your accuracy per interval, not just an overall score
- Lets you isolate weak intervals instead of drilling all 12 every session
An app that only tests you on intervals you already know isn't training, it's just confirming what you can already hear.
Set up a focused ten-minute drill
Running a full 12-interval quiz every day sounds thorough, but it actually slows progress because you spend equal time on intervals you've mastered and ones you're still shaky on, which is the difference between targeted practice and just putting in hours. Instead, use your app's tracking data to build a shorter, targeted session:
- Review yesterday's accuracy report and flag your two weakest intervals
- Drill those two intervals exclusively for five minutes, ascending and descending
- Run a mixed quiz across all 12 for five minutes
- Log which intervals you missed for tomorrow's focus
Doing this daily beats one long weekly session, since ear training depends on frequent, spaced exposure rather than marathon cramming.
Layer in real music, not just app tones
Synthesized tones from an app are clean and predictable, but real instruments carry timbre, room noise, and vibrato that make intervals harder to isolate. Once app drills feel easy, start pulling short clips from songs you like and testing yourself on the interval between the first two notes of the melody. Tracking which specific intervals keep tripping you up across both app sessions and song clips is exactly the kind of recurring, spaced review that a system like MemoRep's practice card scheduling was built to manage, so the weak spots you flag today actually resurface before you forget them again.
Step 5. Test yourself with randomized interval quizzes
Drilling with an app teaches you the sound. Testing yourself proves you've actually learned it. The difference matters because drilling lets you glance at hints, replay a clip, or lean on context clues from the session order. A real interval recognition test strips all of that away and forces a cold, single-shot answer, which is the only honest way to measure whether you can actually identify intervals by ear under pressure instead of just in a comfortable drill environment.
Quiz yourself without any visual cues
Close your eyes, mute the screen, or turn your back to the speaker before the quiz starts. Visual habits sneak in more than most musicians realize, like unconsciously counting keys on an on-screen piano or watching a progress bar for timing hints. Removing every visual crutch forces your ear to do the entire job, which is exactly the condition you'll face when someone plays a riff live and asks you to name the jump.
A quiz you can pass with your eyes open is measuring your memory of the screen, not your ear.
Track accuracy over weeks, not just days
A single quiz session tells you almost nothing useful. Patterns only show up once you compare results across weeks:
- Log your score by interval, not just your overall percentage
- Note whether mistakes cluster on ascending or descending versions
- Watch for intervals that regress after a few good weeks, a sign that memory fades on a predictable curve and needs reinforcement
- Compare melodic versus harmonic accuracy separately
This longer view catches slow decay that a daily glance would miss entirely, and it tells you exactly which intervals deserve another round of focused drilling.
Add time pressure once accuracy is solid
Once your untimed accuracy sits comfortably above 90%, add a countdown timer to your quizzes. Musicians rarely get unlimited time to identify an interval in a live setting, so training under a five-second limit closes the gap between quiz performance and real playing situations. Speed also exposes intervals you've half-memorized rather than truly internalized, since hesitation under pressure is often the first sign a sound isn't fully locked in yet.
Feed every missed interval back into your practice schedule instead of letting it disappear into a forgotten quiz log, pairing active recall with scheduled review, since a mistake you don't revisit is a mistake you'll make again next month.
Step 6. Apply intervals to chords, progressions, and playing by ear
Everything you've drilled so far isolates two notes at a time, but real music stacks intervals into chords and strings them into progressions. This step is where interval recognition stops being a party trick and starts becoming a practical skill you use every time you sit down to figure out a song without sheet music.
Break every chord into its interval stack
A major triad is just a root, a major third, and a perfect fifth stacked on top of each other. A minor triad swaps the major third for a minor third and keeps the same fifth. Once you can hear that swap, chord quality stops being guesswork.
| Chord type | Interval stack from root |
|---|---|
| Major triad | Major 3rd + Perfect 5th |
| Minor triad | Minor 3rd + Perfect 5th |
| Diminished triad | Minor 3rd + Tritone |
| Augmented triad | Major 3rd + Minor 6th |
| Dominant 7th | Major 3rd + Perfect 5th + Minor 7th |
| Major 7th | Major 3rd + Perfect 5th + Major 7th |
Once you can hear the third and the fifth separately inside a chord, you can name almost any chord quality without ever seeing a chart.
Follow intervals as chords move
Grab a simple progression like C to F to G to C and listen to the bass movement between each chord root. That C to F jump is a perfect fourth, F to G is a major second, and G back to C is another perfect fourth. Naming these jumps out loud while you play trains your ear to predict where a bassline is headed before it gets there, which is exactly what happens when a skilled musician follows an unfamiliar song in real time.
Transcribe a short melody by ear
Pick a simple, slow melody you already like and try writing out the interval between each consecutive note pair without touching your instrument first. Check your guesses against the actual notes only after you've committed to an answer. This single exercise combines everything from the earlier steps: semitone counting, direction awareness, and instant recall, into one real task instead of an isolated drill.
Mistakes here are useful data, not failures. Logging which specific chord qualities or bassline jumps trip you up, and feeding those weak spots back into a spaced review routine like the one MemoRep's progress tracking builds around, keeps the gaps from quietly reopening once you move on to the next song.
Making interval recognition second nature
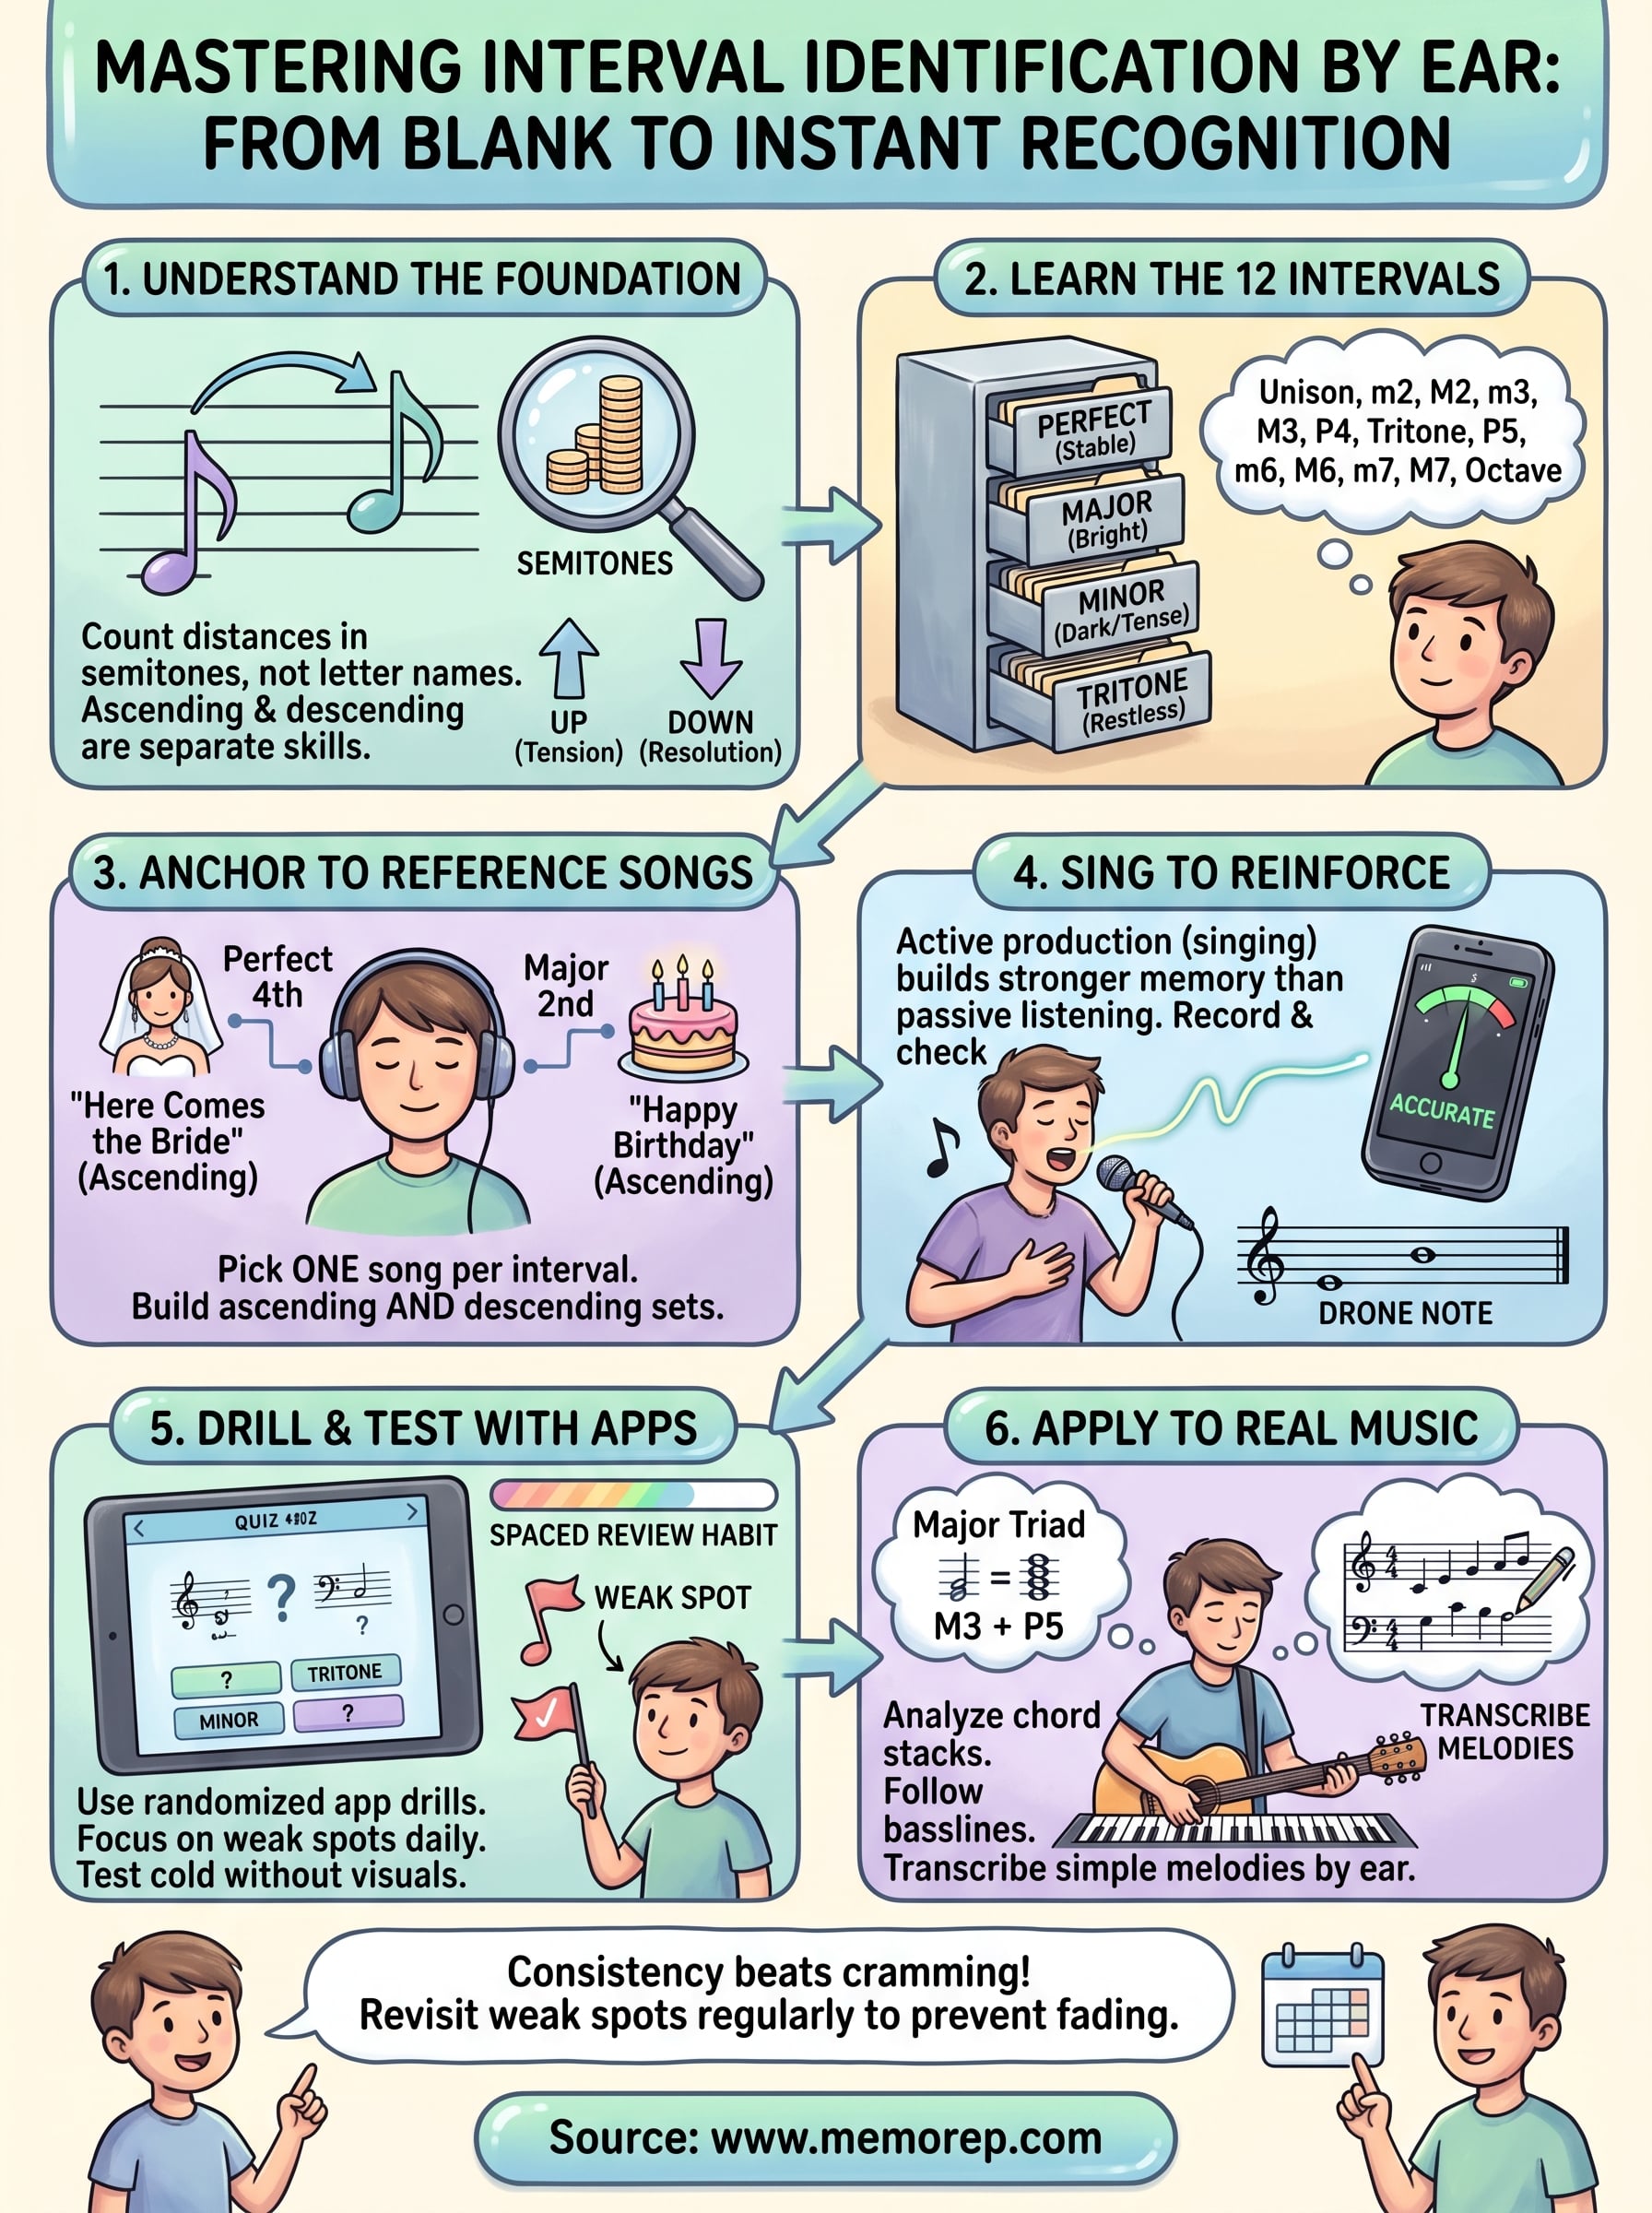
You now have the full path: understand semitones, anchor each interval to a reference song, sing to confirm what you hear, drill randomly, quiz yourself cold, then apply it all to real chords and melodies. Knowing how to identify intervals by ear isn't about talent, it's about running these six steps consistently until your brain stops translating and starts recognizing instantly.
Zero this in on the part most musicians skip: revisiting weak intervals before they fade again. A perfect fifth you nailed on Monday can slip by Friday without a scheduled nudge back into review, which is the exact gap spaced repetition closes. MemoRep turns every interval, chord stack, and missed quiz answer into a practice card that resurfaces right when your memory starts to fade, so nothing you've drilled goes to waste.
See how MemoRep schedules your practice cards and stop losing progress between practice sessions.